
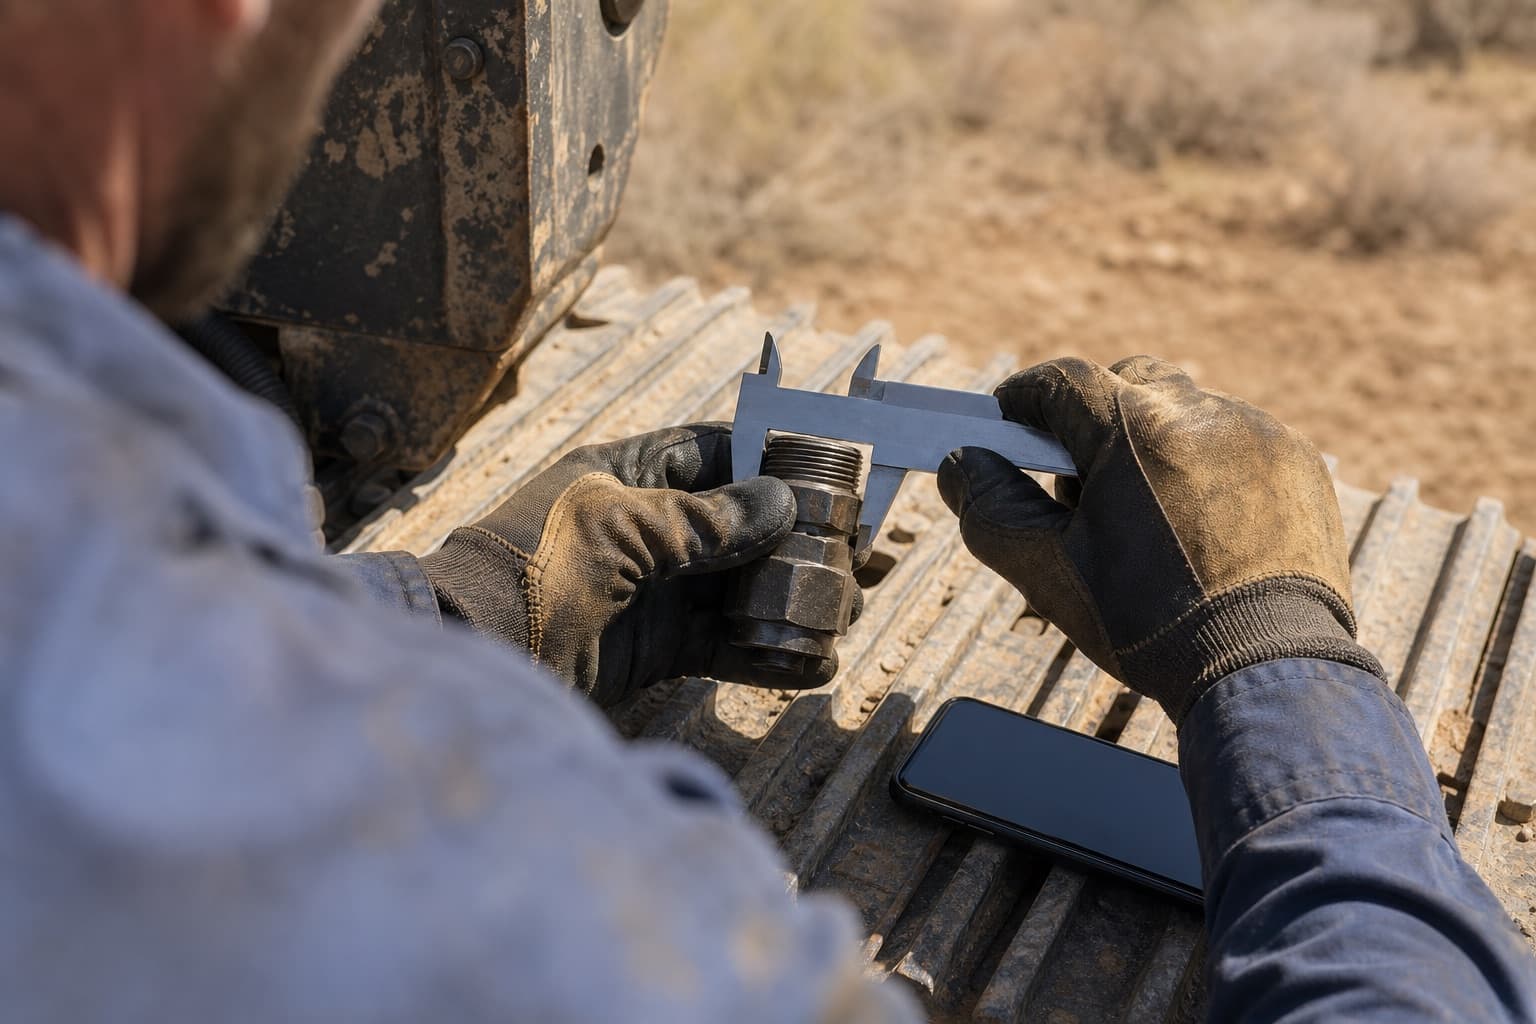
Measuring a fitting without gauges is a field skill rather than a substitute for owning them. The gauges cost very little and every workshop should own them. This article is for the other situation: the machine is in a field or on a haul road, the toolbox has a tape and a caliper in it, and the answer has to be good enough to order a part today rather than after the next trip to town.
The four observations.
| Observation | How to take it | What it settles |
|---|---|---|
| Diameter across the crests | Caliper across the outside of a male thread, or inside a female | The size band — the strongest single clue |
| Pitch | Measure ten threads with a ruler and divide, or match a known bolt | Metric versus inch, and which size within the band |
| Seat shape | Look straight down the bore, cleaned and in daylight | The family — cone, flat face, O-ring, taper |
| Male or female, straight or tapered | Run a straight edge along the crests | Whether the thread seals or only holds |
What a measurement cannot tell you.
Two things resist the field method and it is worth knowing which they are. Seat angles that are close together — 24° against 30°, or 30° against 37° — are not reliably separable by eye, which is why a photograph down the bore is worth more than a description of it. And a worn or damaged thread measures smaller than it was; if the fitting failed by being over-tightened or cross-threaded, measure a second example from the same machine if one exists.
What to send.
A message that gets a part named on the first reply contains: the four observations above, a photograph of the end square-on, a photograph straight down the bore, a photograph of the whole hose or line in place, and a note of what the machine is and where it sits in the circuit. The last one matters more than people expect — a return line and a pump line of the same size are not the same order.
If the failed part is in your hand, photograph it against a ruler or with a coin for scale. If it is a hose you need remade, send both ends and the length, measured between the sealing faces rather than end to end.
Can you identify a fitting from a photograph alone?
Often, and much more reliably with one measurement alongside it. A photograph plus a caliper reading across the crests is close to definitive for most of what circulates.
How do I measure a female thread with a caliper?
Across the roots, inside the port, which reads slightly larger than the nominal size — say that is what you did when you send it. Where possible measure the male that came out of it instead.
What should I buy so this never happens again?
A thread pitch gauge and a seat angle gauge. Together they cost less than one wasted day and they turn every future identification into a five-second check.
Machine down and no gauges on site?
Send the photographs and whatever you could measure. We will name the part from that, tell you what we inferred and how confident it is, and quote it — rather than asking you to be sure before we will help.
Plant-down? Call +971 52 2477942 — 24/7