A hose assembly looks like a length of hose with a fitting on each end, and that is exactly how it gets underspecified. It is a manufactured part, built to a specification that ties a particular hose to particular fittings with a particular crimp, and its rating is only as good as the weakest decision in that chain. This guide walks the chain in order and links to the detail on each step.
/01Specify it completely.
Five items fully describe an assembly: the hose grade and bore, the fitting at each end (family, size, gender, shape), the overall length, and — where both ends are elbows — the orientation angle between them, viewed down the hose. Overall length is measured sealing face to sealing face, which on many fittings is not the visible end. The old assembly, or a photograph of its layline and both ends, supplies most of this. See getting a hydraulic hose made, measuring a hose and what to send for a hose quote.
/02Match the hose, fitting and ferrule.
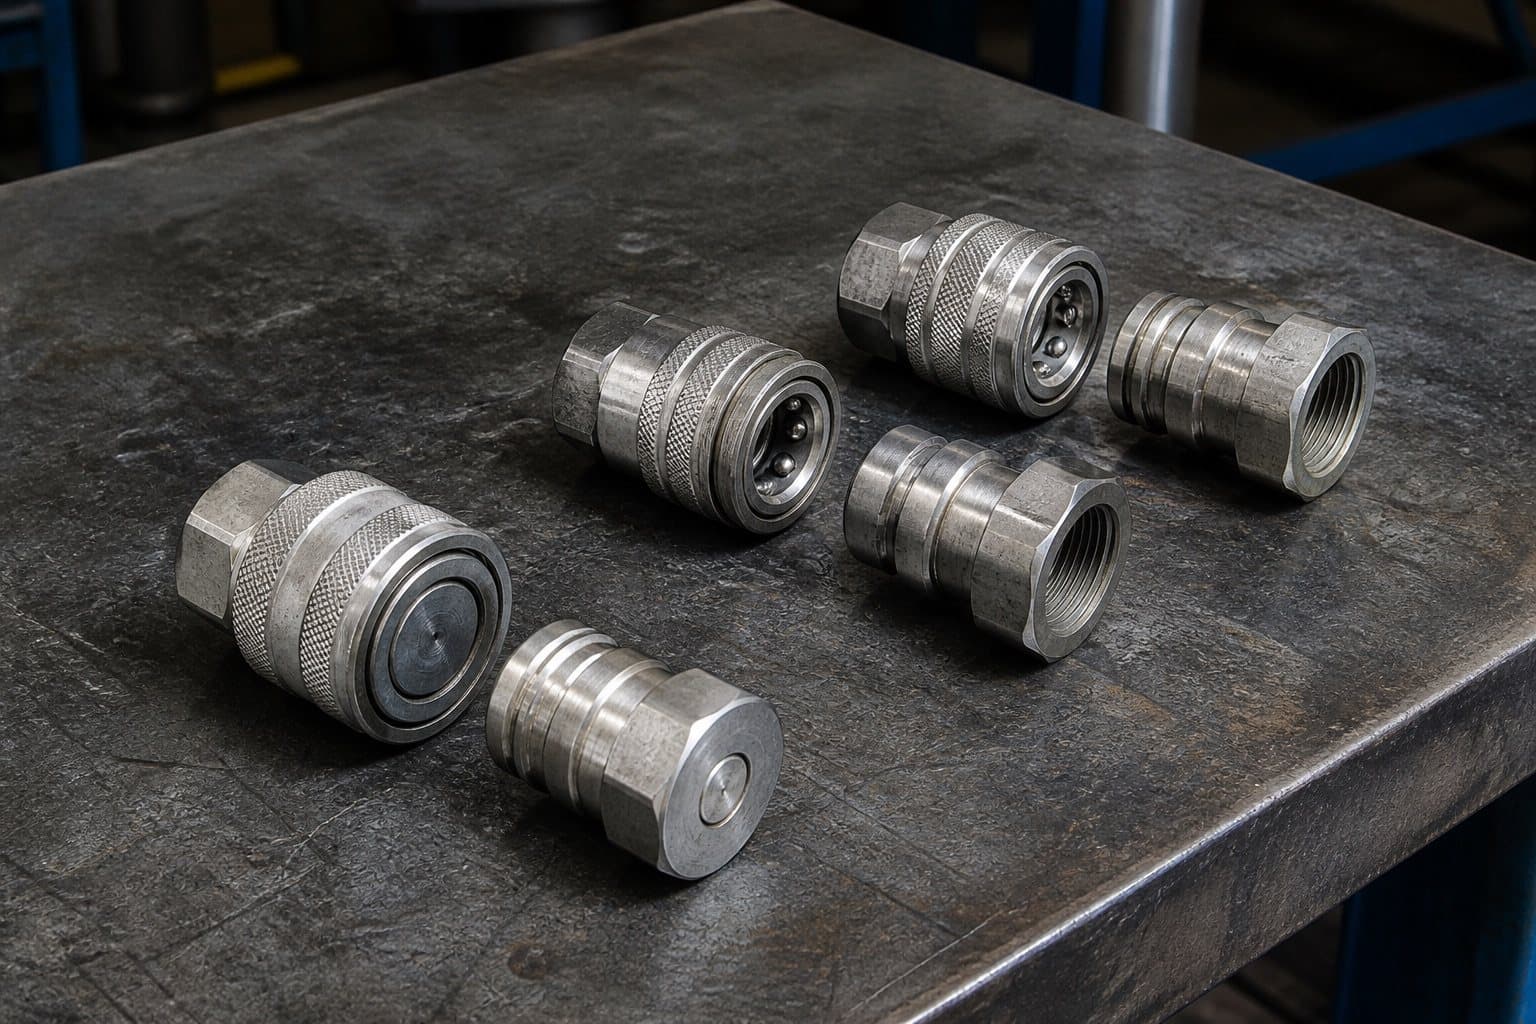
The fitting series must be made for the hose construction. Our braided-hose crimp fittings are listed for EN 853 1SN and 2SN and SAE 100R1AT, 100R2AT, 100R16 and 100R17; our spiral-hose crimp fittings for EN 856 4SP and SAE 100R12. 4SH, R13 and R15 take their own ferrules — our crimp ferrule shelf lists skive interlock ferrules for 4SH and a double-skive ferrule for R13. Mixing a ferrule from one source with a hose from another leaves no published crimp specification to work to. See braided against spiral hose fittings.
| Hose | Fitting series | Ferrule |
|---|---|---|
| 1SN, 2SN, R1AT, R2AT, R16, R17Highlighted | Braided-hose crimp fittings | No-skive, e.g. for R2AT / 2SN |
| 4SP, R12 | Spiral-hose crimp fittings | Skive, for 4SP and R12 |
| 4SH | Per the 4SH specification | Skive interlock for 4SH |
| R13 | Per the R13 specification | Double-skive for R13 |
| R7, R8 thermoplastic | Per the thermoplastic specification | No-skive for R7 / R8 |
| R14 PTFE | PTFE fittings | Specialty ferrule for PTFE |
/03Cut, clean and skive.
Cut the hose square with a proper hose saw so the wire does not splay, then blow out the debris — a new hose cut on a dirty bench is a common route for contamination into a clean circuit. Skive only where the fitting is designed for it: a skive fitting removes the cover, and sometimes the inner tube, so the ferrule grips the wire directly; crimping a skive fitting over an intact cover leaves the wire held through rubber that relaxes. Most current two-wire hose takes no-skive ends; spiral hose generally still needs skiving. See skiving explained.
/04Crimp to a diameter.
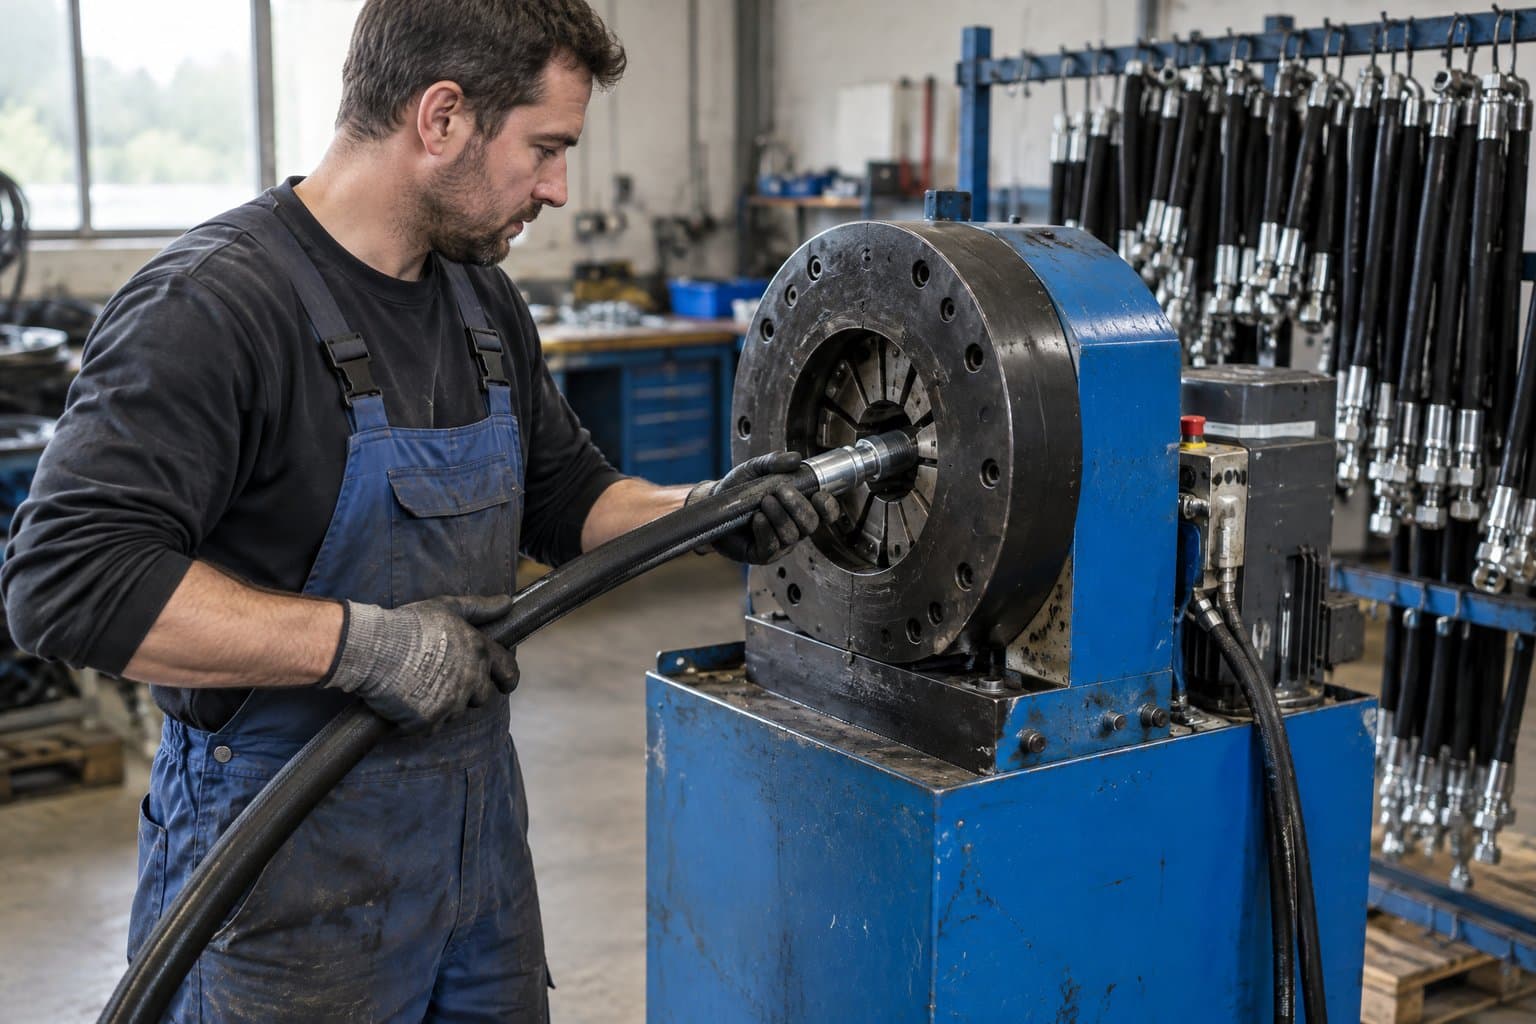
Insert the fitting to its full depth — marking the hose first makes a short insertion visible — and crimp with the die set the maker specifies for that hose and fitting. The target is a finished outside diameter over the ferrule, published by the fitting maker for that exact combination, with a tolerance in tenths of a millimetre. Measure it with callipers after every crimp. Too loose and the hose walks out under pressure; too tight and the crimp cuts the reinforcement it was meant to grip. See crimp faults and bursts at the fitting.
/05Clean, test, cap and tag.
Flush or blow the assembly clean, then proof test it: a hydrostatic test to a defined pressure above working, held and inspected for leakage, fitting movement and permanent change. A proof test confirms the assembly holds now; it does not confirm the crimp is in specification, which is why the diameter is measured as well. Cap both ends before the assembly leaves the bench, and tag it with the hose, fittings and test date — the tag is what makes a hose register possible and an audit answerable. See what a test certificate proves and bulk refit and tagging.
/06Installing it.
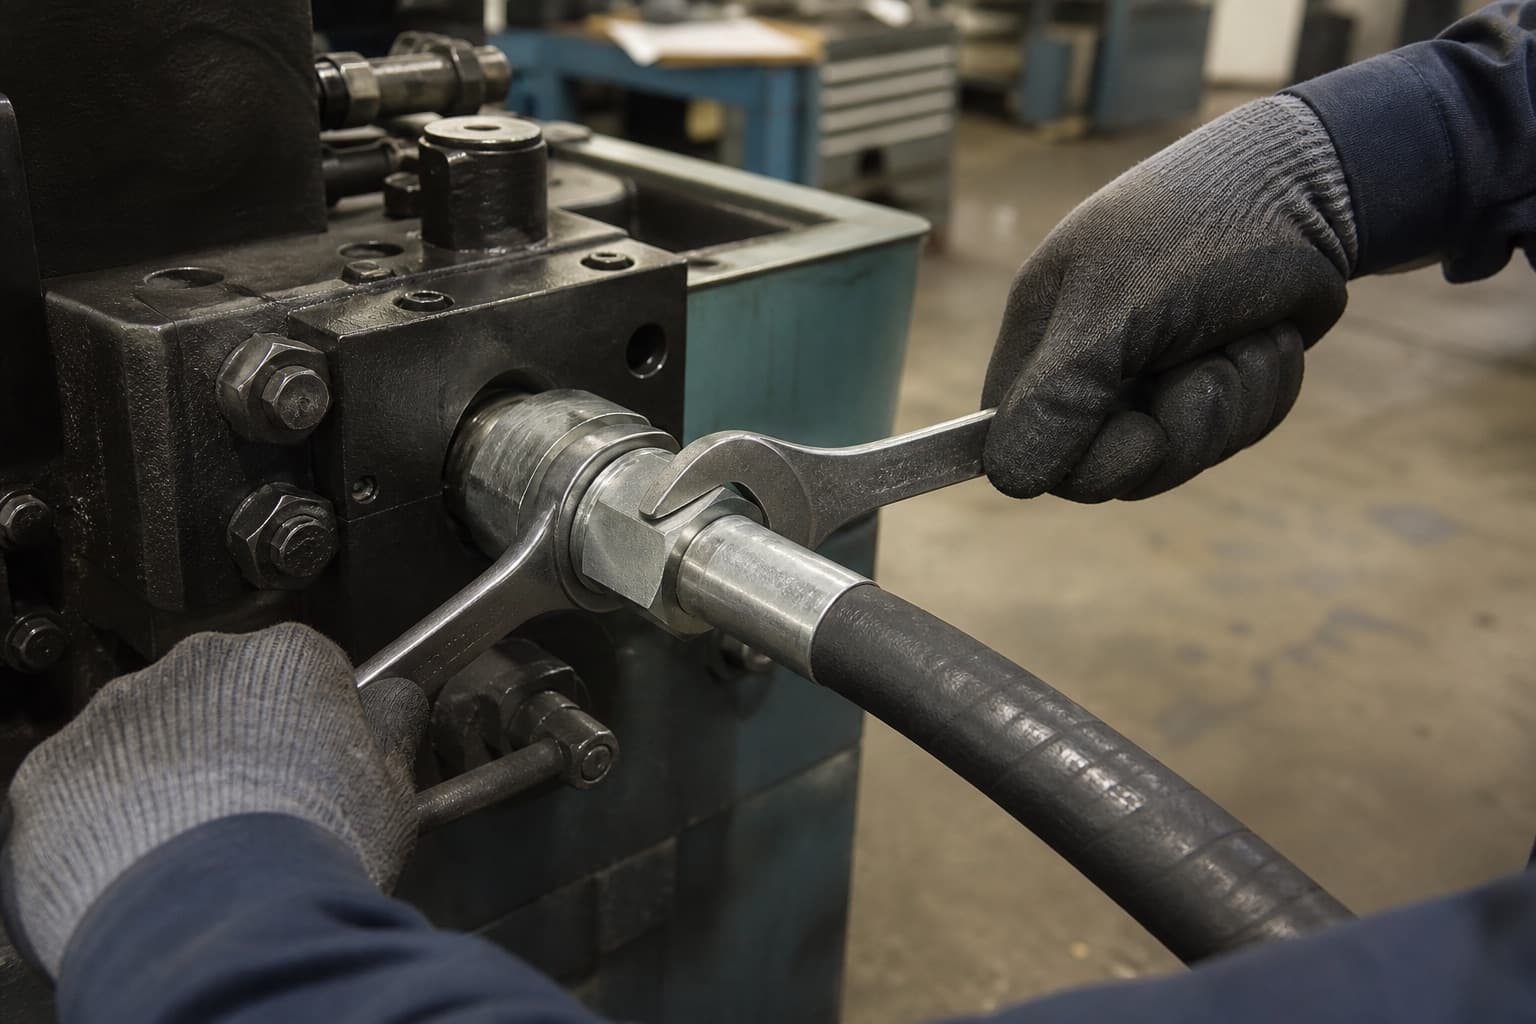
A correctly built assembly can still be killed in four seconds at the machine. Do not twist it — the layline must run straight. Do not start a bend at the ferrule; leave a straight length out of the fitting. Respect the bend radius, clamp to guide rather than pin, and measure articulating runs at both extremes of travel. Make up the joints by the method for each family. See routing, bend radius and twist, installed with a twist and make-up torque and turns.
/07Build it yourself, or have it built.
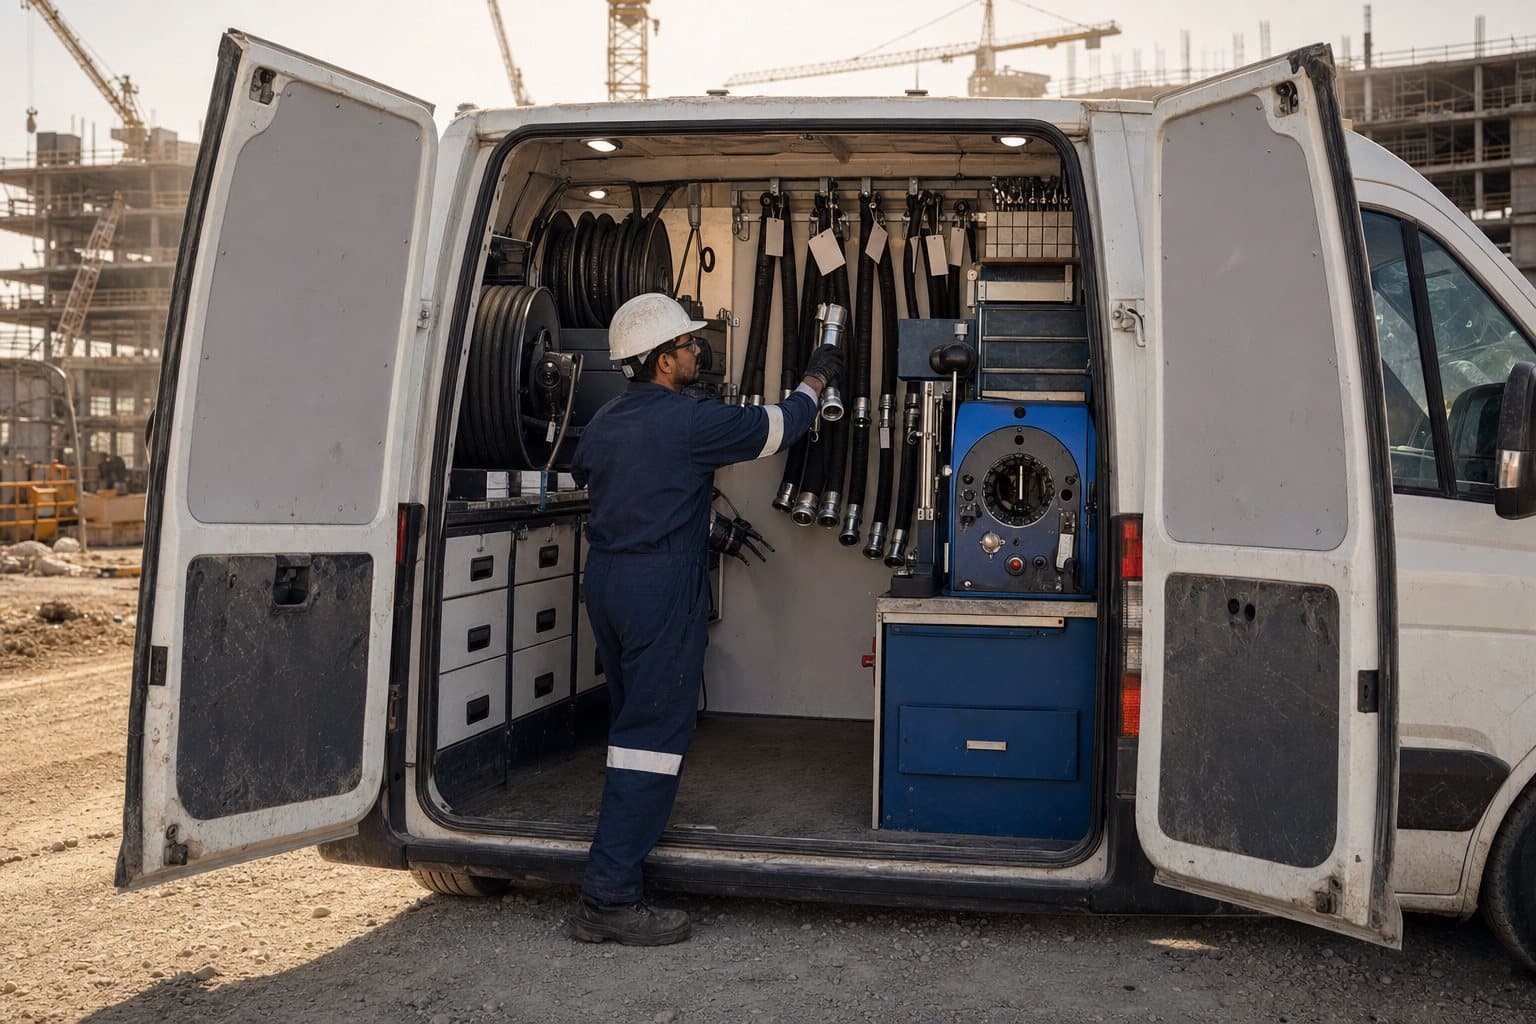
Plenty of operations should own a crimper; the arithmetic is about the whole system — dies, ferrule stock, calibration, records and someone trained — not the machine price. Many land in the middle: bulk hose and fittings held on site for everyday circuits, and finished, tested assemblies for anything with a consequence beyond downtime. See should you buy a crimper, bulk hose or finished assemblies and on-site hose service.
Frequently asked questions
- What information do I need to order a hose assembly?
- Hose grade and bore, the fitting at each end, the overall length sealing face to sealing face, and the angle between two elbow ends. A photograph of the old hose's layline and both ends covers most of it.
- Can any fitting be crimped onto any hose?
- No. The fitting series must be made for the hose. Our braided-hose fittings are listed for 1SN, 2SN, R1AT, R2AT, R16 and R17; our spiral-hose fittings for 4SP and R12.
- Does a proof test prove the crimp is correct?
- No. It proves the assembly holds pressure now. A marginal crimp can pass a static test and fail after a few thousand pressure cycles, so the crimp diameter is measured as well.
- Do I need to skive the hose?
- Only if the fitting is a skive design. Most current two-wire hose takes no-skive fittings; most spiral hose still needs skiving.
- Why do assemblies need caps and tags?
- Caps keep contamination out between the bench and the machine. Tags record the hose, fittings and test date, so the assembly can be re-ordered and audited.
Hose, fittings and ferrules that go together
 IH-HOSE-R2-2SNR2 2SN Double Wire Braid Hydraulic HoseEaton Winner
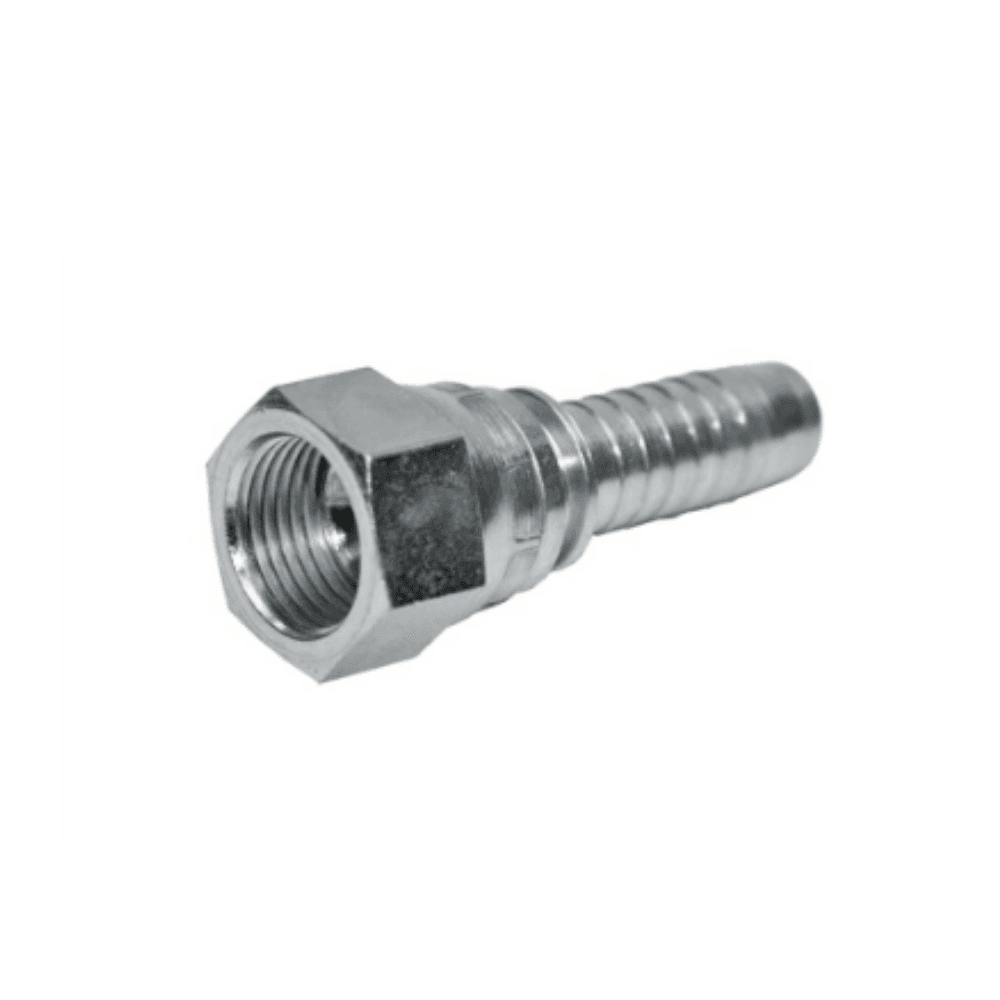 IH-CF43-JICFJIC 37° Female Swivel Crimp Fitting for Braided HoseIndus Hydraulics
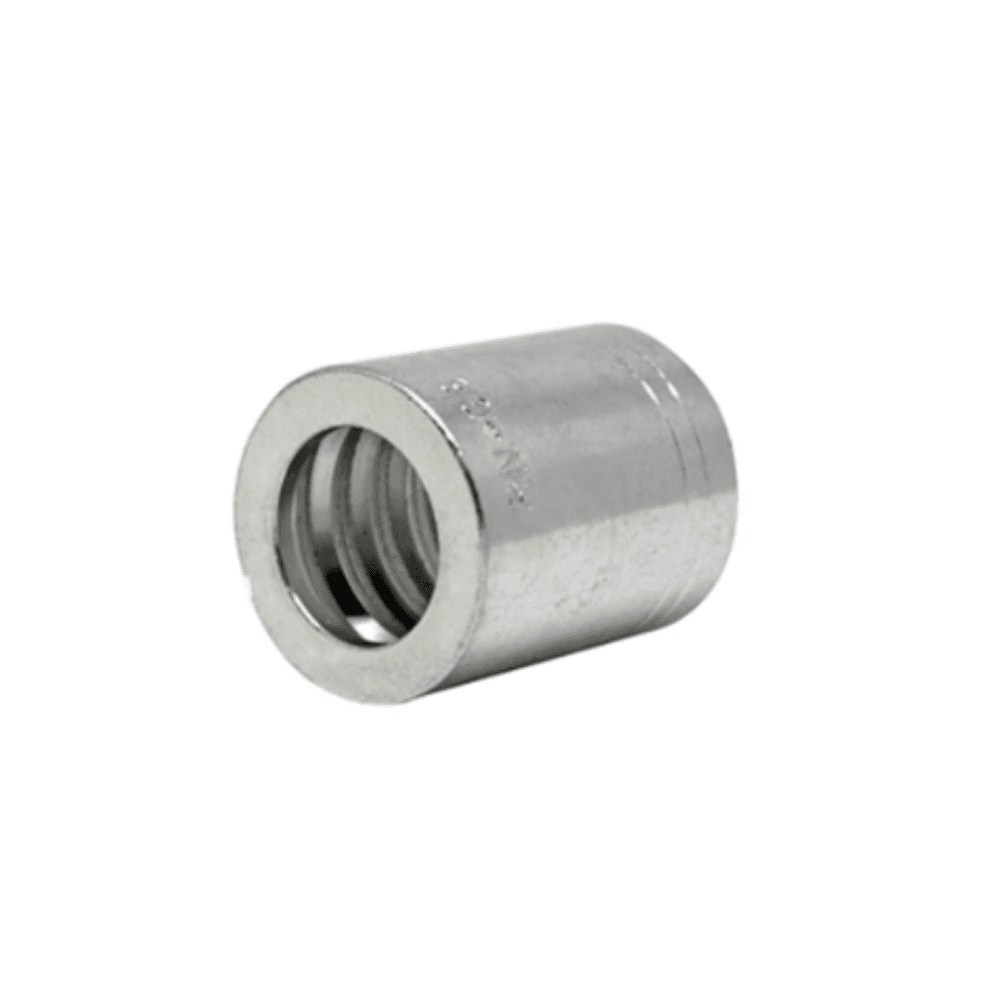 IH-CF-NS-R2T2SNNo-Skive Crimp Ferrule for R2AT / 2SN HoseIndus Hydraulics
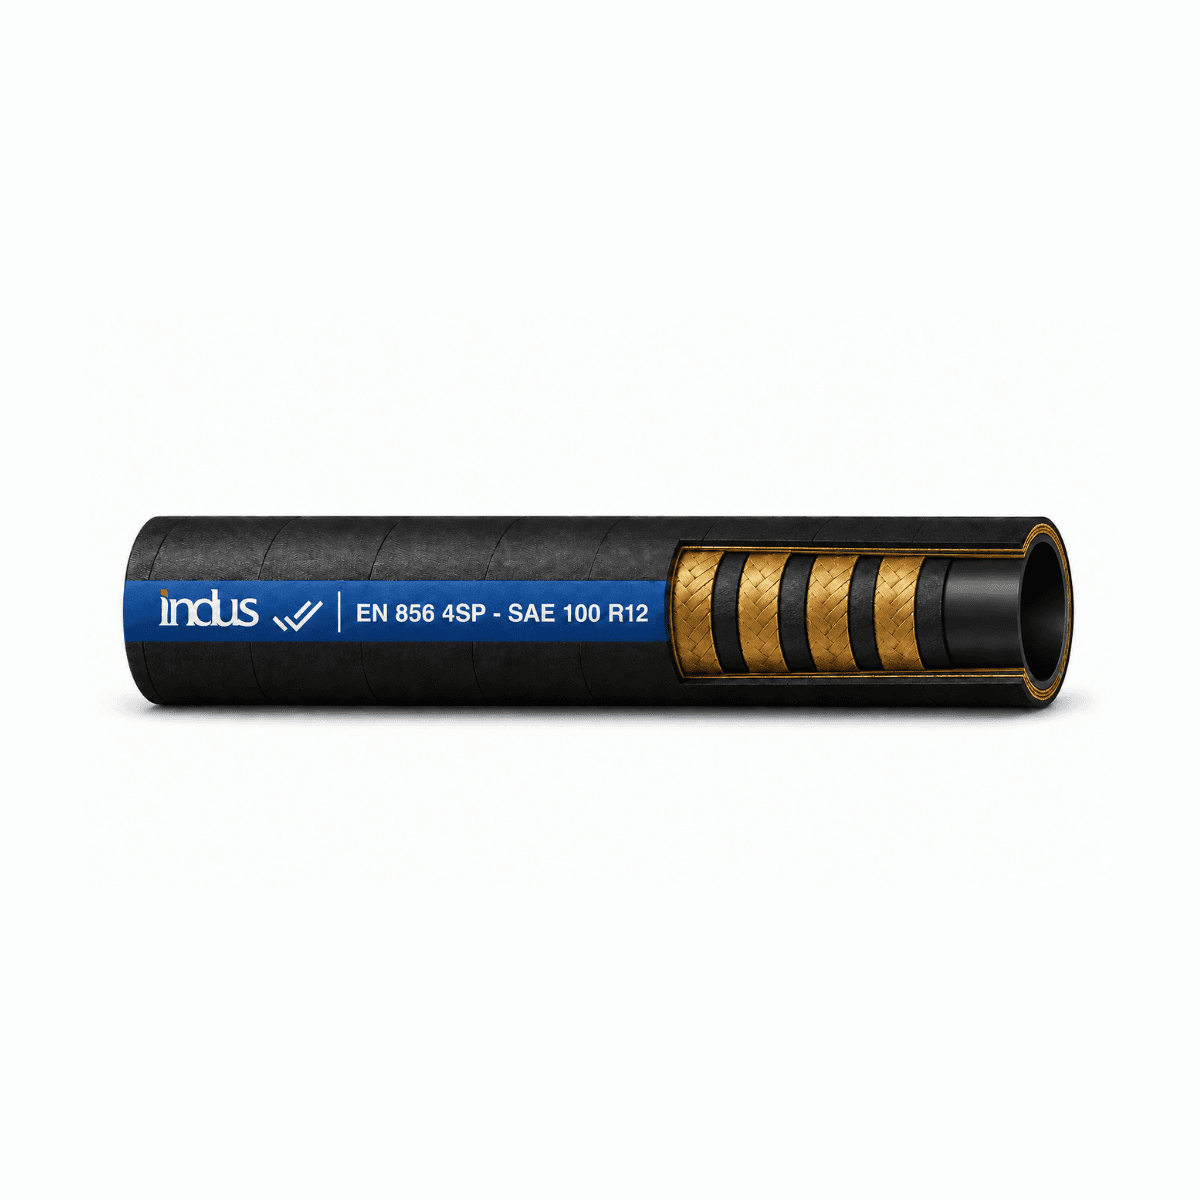 IH-HOSE-4SP4SP Four-Spiral Hydraulic HoseIndus Hydraulics
- IH-CF71-JICFJIC 37° Female Swivel Crimp Fitting for Spiral HoseIndus Hydraulics
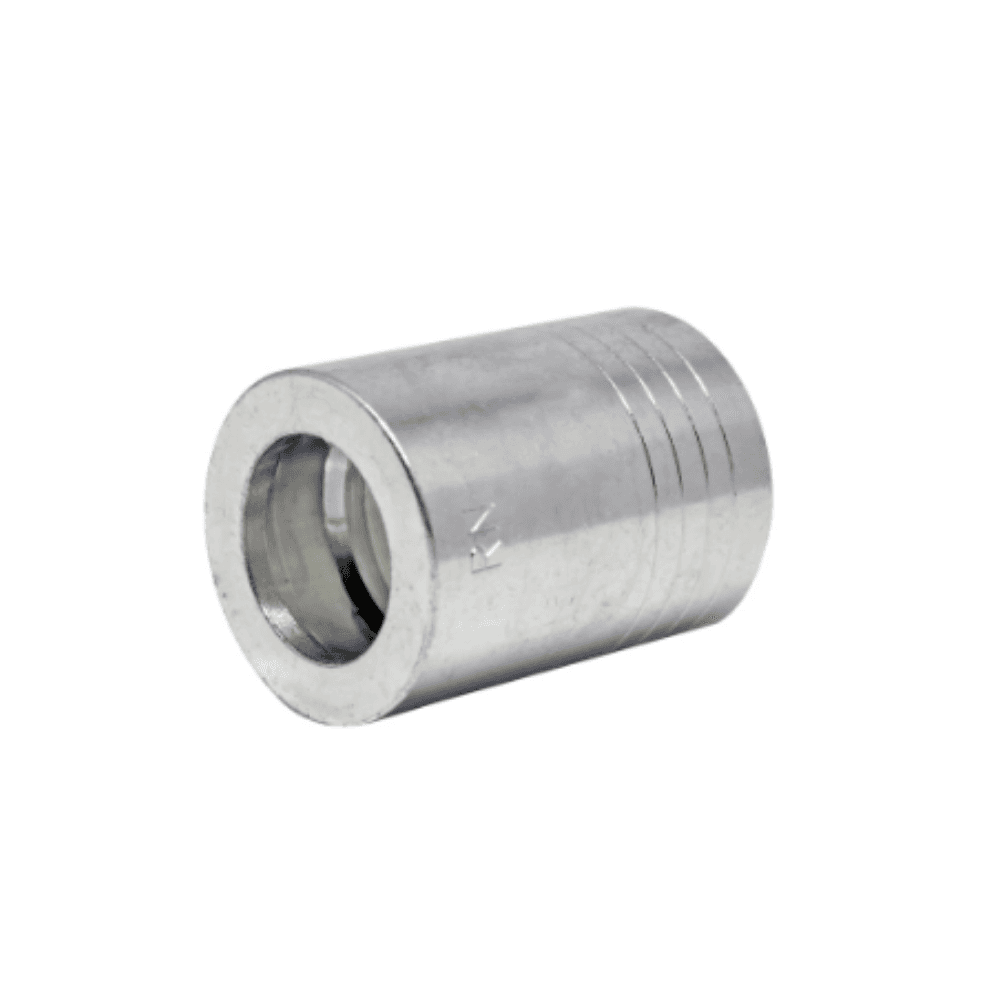 IH-CF-SK-4SPSkive Crimp Ferrule for 4SP HoseIndus Hydraulics
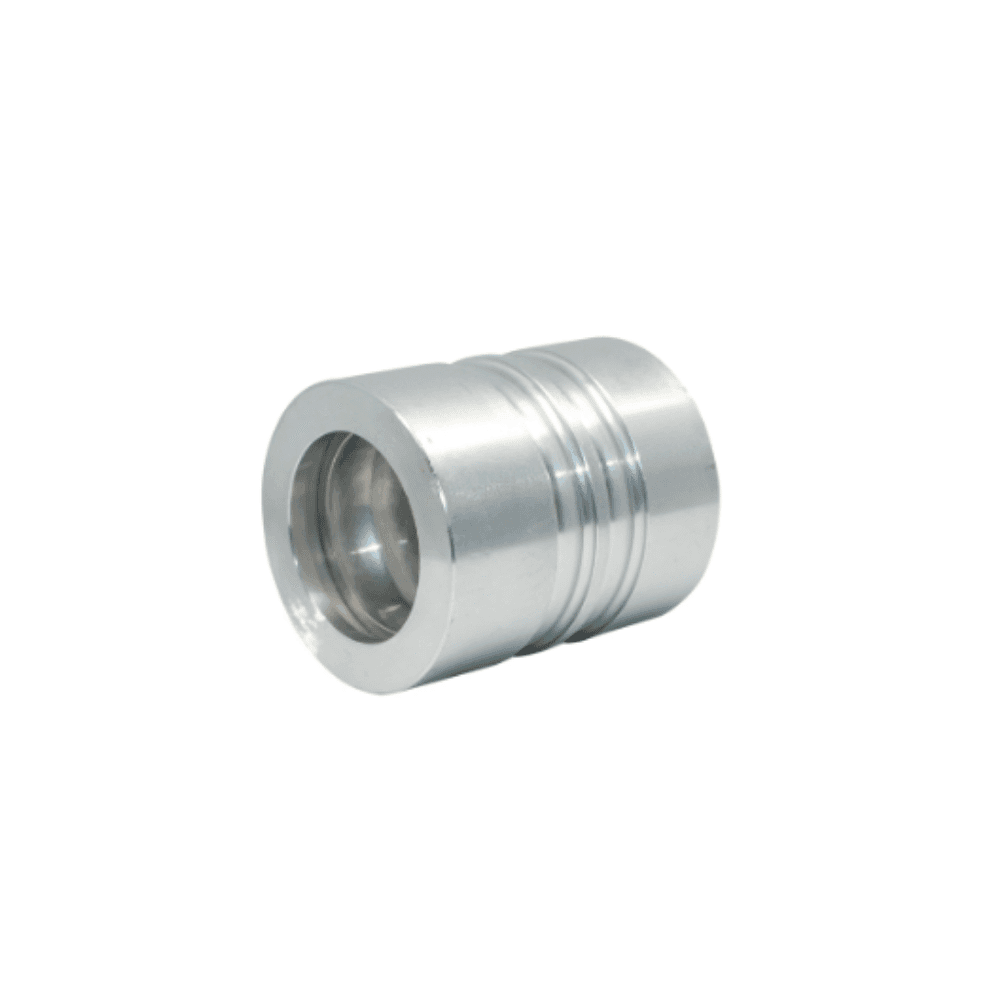 IH-CF-SK-4SH-ILSkive Interlock Crimp Ferrule for 4SH HoseIndus Hydraulics
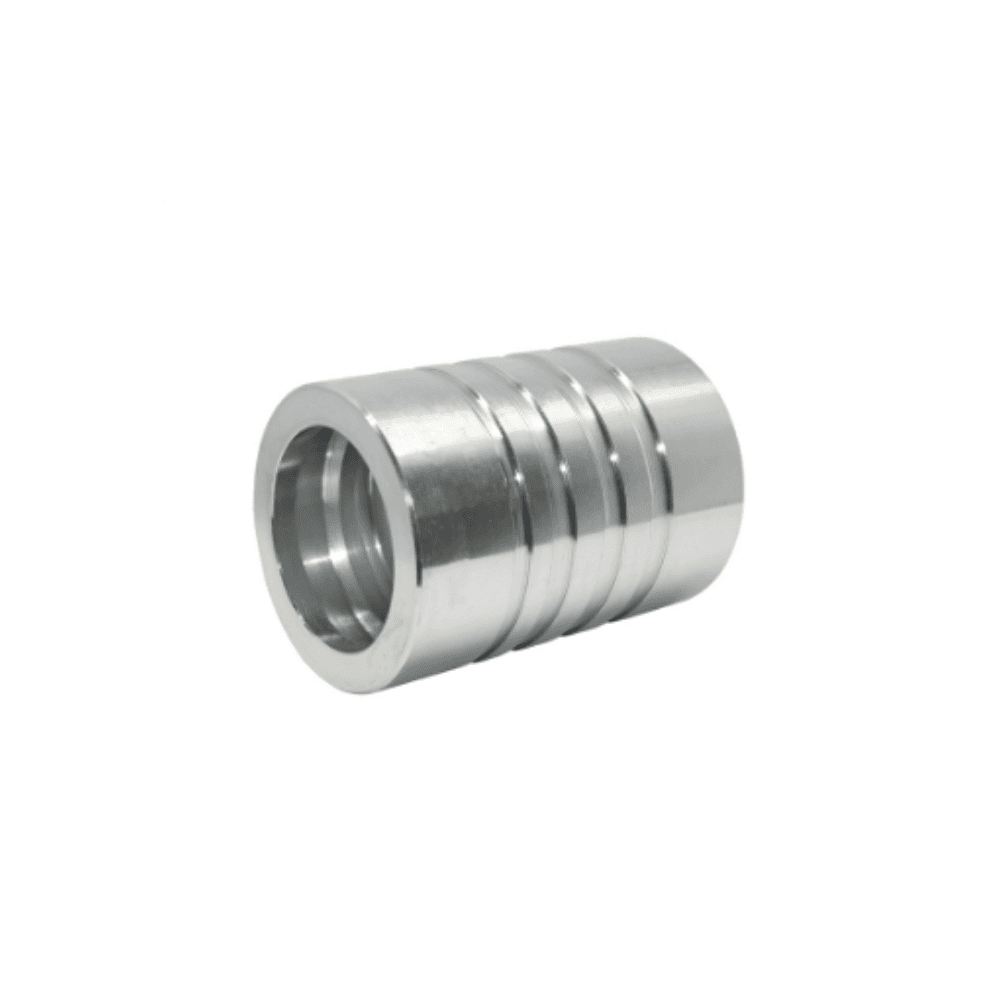 IH-CF-DS-R13Double-Skive Crimp Ferrule for R13 HoseIndus Hydraulics