It is the most ordinary job in the workshop and it comes back wrong more often than anything else — not because measuring is hard, but because the number the customer measured and the number the machine needs are two different quantities, and nobody says which one is being handed over.
/01The two lengths.
Overall length is the finished assembly: sealing face to sealing face, fittings included. It is the number that has to be right, because it is the number the machine imposes.
Cut length is the piece of hose before the fittings go on. It is shorter than the overall length, by however far the hose stem pushes into each fitting. That insertion depth is a property of the specific fitting — it varies between fitting types, between sizes, and between one-piece and two-piece designs.
/02Where the sealing face is.

The sealing face is where the connection actually seals — the surface the mating half presses against. On some fitting types it is the visible end of the fitting; on others it is set back, and measuring to the tip of the nut adds length that is not there. On a JIC 37° female swivel the sealing face is the cone seat; on an ORFS female it is the flat face that meets the O-ring on the male.
| End type | Measure to |
|---|---|
| Female swivel with a cone seat (JIC, BSP, metric) | The seat inside the nut, not the end of the nut |
| ORFS female | The flat face where the O-ring sits |
| Male thread | The end of the thread |
| SAE flange head | The flange face |
| Tapered thread (NPT, BSPT) | The end of the thread — noting it will thread in further under torque |
The per-fitting dimensions are published on each fitting’s product page in our catalogue, size by size, so the exact geometry for the fitting you are actually using is available rather than assumed. If you are ordering rather than measuring, you do not need any of this — give us the overall length and the ends, and the workshop does the arithmetic.
/03Measuring the old hose properly.
The sequence
In this order. Steps two and three are the ones usually skipped.
IfThe hose is off the machine
Lay it out straight on the floor and let it relax before measuring.
A hose that has spent years around a bend keeps the curve. Measured curled, it reads short — and the replacement then pulls tight in service.
IfEither end is an elbow
Note the angle between the two ends, looking down the length of the hose.
Two 90° ends can be aligned, opposed, or anywhere between. Length alone does not describe the part.
IfThe hose was fitted with a twist
Measure it, then fix the routing — do not reproduce the twist.
A twisted hose is already shortened and already failing early. Rebuilding it identically buys the same failure again.
IfThe hose is destroyed or missing
Measure the machine instead: port to port, following the intended route.
Add slack for movement, and tell us the route rather than only the straight-line distance.
On a hose that has to move — a boom, a tilt cylinder, an attachment — measure at the position that needs the most length, then check the shortest position for slack. A hose sized at mid-stroke can be pulled tight at full extension and rubbing at full retraction, and both are failures.
/04What to send us.
| Item | Why it matters |
|---|---|
| Overall length, face to faceHighlighted | The one dimension the machine imposes |
| Hose size and grade | From the layline if it is readable; otherwise a photo and the outside diameter |
| Both ends: thread and seat type | Even when they are the same — write it twice |
| Elbow angles and orientation | The most commonly omitted detail, and the most common cause of a remake |
| Working pressure | Confirms the grade is right rather than merely matching what was there |
| Photographs of both ends and the routing | Resolves anything the description missed |
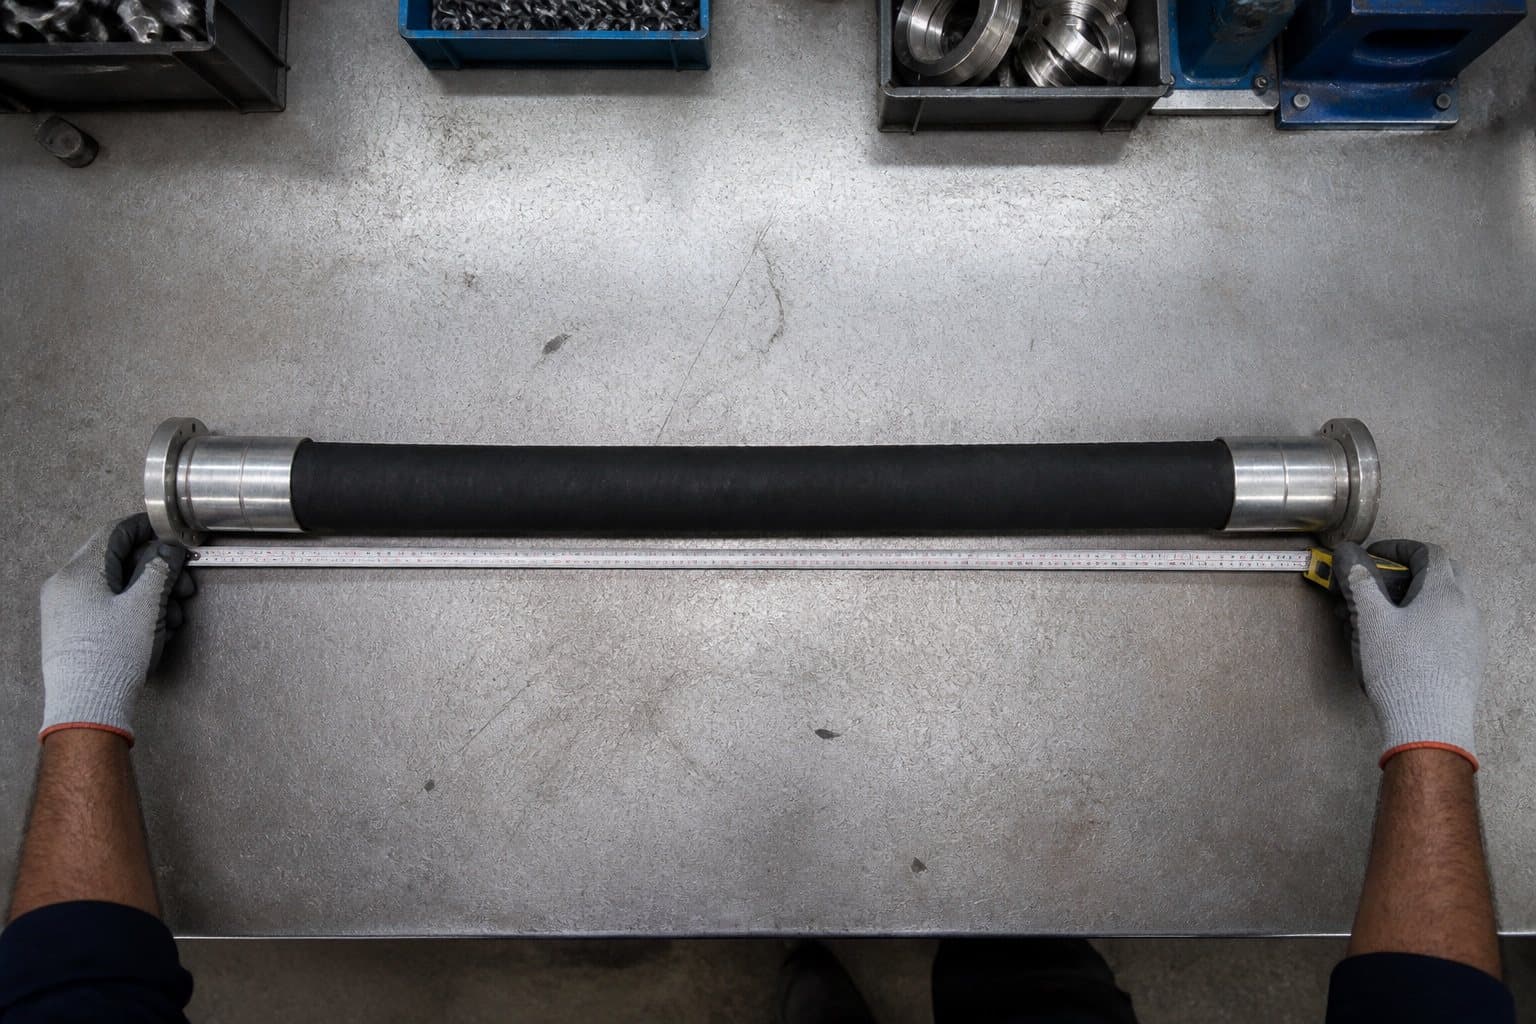
The last line does most of the work. A photograph of each end and one of the hose lying straight next to a tape measure will settle almost every question a workshop would otherwise have to ring you back about.
Common questions
- Should I measure the rubber or the whole assembly?
- The whole assembly, sealing face to sealing face. The length of rubber alone is the cut length, which depends on which fittings go on it — so it is not a number anyone can use without also knowing the fittings.
- How much extra length should I allow?
- Enough that the hose is never in tension at any point in the machine’s travel, and never so much that it can rub or snag. On a moving circuit, measure at the position of greatest separation and then check the slack at the shortest.
- Can you make a hose from the old one if I send it in?
- Yes, and it is the most reliable way to get it right. We measure it, identify the ends and match the grade. Send it lying straight rather than coiled tight if you can.
- Does it matter which way round the elbows point?
- Very much. Two identical 90° ends can be clocked at any angle relative to each other, and an assembly built at the wrong clocking will not route. State the angle, or send a photograph of the old hose lying flat.