Instrument fitting makers publish the same make-up rule almost word for word, and it is reassuringly simple. What goes wrong is everything around it: a tube cut with a hacksaw and not deburred, a tube that was never pushed fully home, a nut tightened by feel rather than by counting, a gauge used on a joint that had already been made once. This is the full procedure, step by step, as Swagelok and Parker publish it.
/01Prepare the tube.
- Check the tube. It must be the right OD, inside the maker’s wall range for that size, fully annealed (stainless no harder than 90 HRB; Parker recommends 80 HRB or less), round and free of scratches where the ferrules will sit. Never force oval tube into a fitting.
- Cut it square. Use a tube cutter, or a hacksaw in a guide with a fine blade (Parker specifies 32 teeth per inch minimum). On stainless, use a cutting wheel made for stainless: a dull or wrong wheel work-hardens the tube end, and hardened tube is harder to seal.
- Deburr inside and out. A burr on the OD stops the tube seating in the body; a burr inside sheds into the line. But do not over-deburr the OD — chamfering away the edge removes the surface the ferrule needs.
- Clean it. Flush or swab out the chips.
- Mark it with a pencil, never a scribe. Parker warns that scratch marks made with a sharp tool create leak paths.
/02Make up the joint.
- Insert the tube fully, until it rests firmly on the shoulder inside the body. A tube that is not bottomed will hold for a while and then leak or pull out.
- Run the nut down finger-tight.
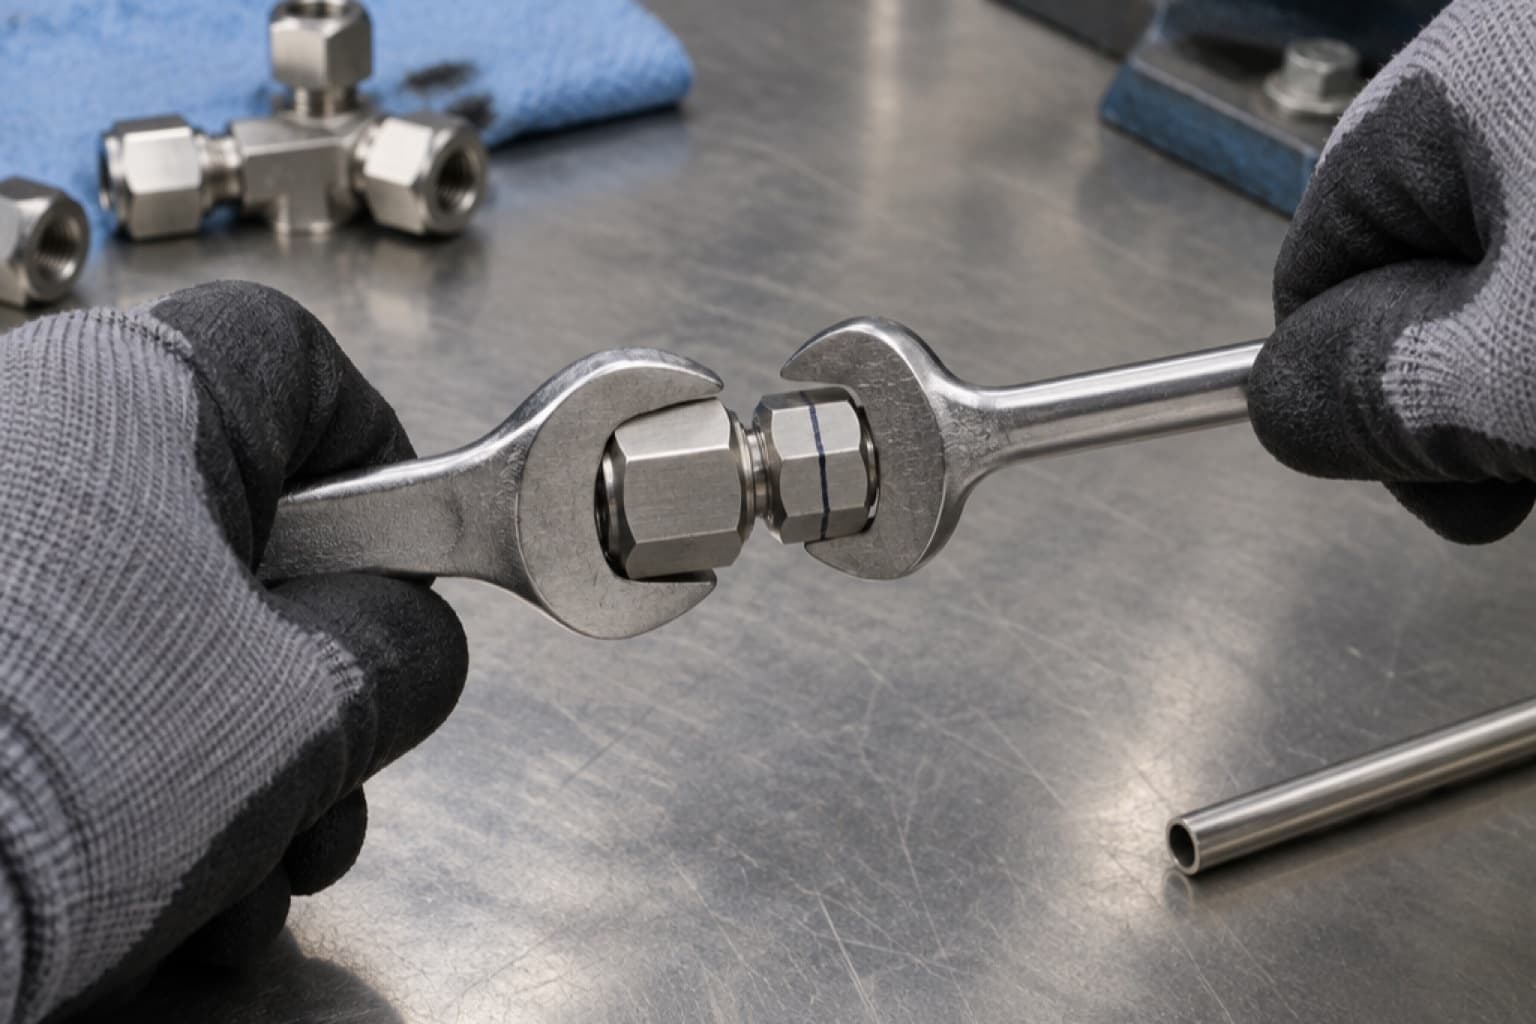
- Mark the nut at the 6 o’clock position (and, for remakes later, mark the tube at the back of the nut).
- Hold the body with a second wrench and tighten the nut. Never turn the body; hold it and turn the nut.
- 1/4" to 1" and 6 mm to 25 mm: 1-1/4 turns, so the mark goes once round and on to 9 o’clock.
- 1/16", 1/8", 3/16" and 2, 3, 4 mm: 3/4 turn, to 3 o’clock. Parker notes that 3/4 turn on these small sizes is what is necessary to seal, and that it leaves the joint able to be remade more times.
Swagelok and Parker give the same turns. For high-pressure and high-safety-factor systems, Swagelok adds a step: after finger-tight, keep tightening until the tube will not turn by hand or move axially, then mark the nut and apply the standard turns from there.
/03Check it with the gap gauge — first make-up only.
Makers supply a gap inspection gauge: a thin plate sized for each tube size. Hold it against the gap between the nut and the body hex. If the gauge enters the gap, the fitting is not tight enough — tighten further (Parker: repeat the assembly). If it does not enter at any point round the nut, the fitting is sufficiently tightened.
The gauge is for initial make-up only. A joint that has been made up and then remade sits deeper, and the gauge will no longer tell you anything useful. Swagelok also lists plugs, machined-ferrule port connectors, joints made with a non-gaugeable preswaging tool and preswaged connections over 1" as places not to use it.
/04Remaking a joint.
Compression fittings can be disconnected and remade; Swagelok says many times. The procedure is different from first make-up:
- Before taking it apart, mark the tube at the back of the nut and draw a line along the nut and body flats.
- Reinsert the tube with its pre-swaged ferrules until the front ferrule seats in the body.
- Turn the nut by hand, then with a wrench, back to the marked position. Resistance rises sharply there — that is the ferrule re-seating.
- Then tighten slightly. Parker quantifies it: only after several remakes does the nut need to go past the original position at all, and then only 10–20°, less than a third of a hex flat.
Do not apply a fresh 1-1/4 turns to a remade joint. It crushes the ferrules further and uses up the joint’s remake life.
/05Other ends: plugs, port connectors, O-seals and positionables.
| End | Initial make-up | Note |
|---|---|---|
| Tube fitting plug | 1/4 turn past finger-tight; 1/8 turn on 1/16–3/16" and 2–4 mm | Later: snug by hand, then slightly with a wrench |
| Port connector, machined-ferrule end | Discard the original ferrules; 1/4 turn (1/8 on small sizes) | Joins two fittings without tube |
| O-seal male connector | Finger-tight to metal-to-metal contact, then slightly with a wrench | Leave the factory O-ring lubricant |
| Positionable elbow or tee | Screw in until the backup washer meets the port face, back out up to one turn to align, run the locknut down | O-ring seals on the port face |
| Weld-end fittingHighlighted | Remove nut and ferrules before welding; tack at four points 90° apart | Use a heat sink |
| Tapered pipe thread (NPT, BSPT) | Tighten to the maker’s guidance | Always use a thread sealant on tapered threads |
/06Large sizes: preswaging and hydraulic swaging.
Above about 1/2" the force needed to swage the ferrules grows quickly, and above 1" it is beyond hand tools:
- 5/8" to 1" (16–25 mm): Swagelok calls preswaging the ferrules onto the tube with a hydraulic swaging unit a best practice for every material except aluminium and brass.
- Over 1" (25 mm): a hydraulic swaging unit is required — for 1-1/4", 1-1/2" and 2", and 28, 30, 32, 38 and 50 mm. Lubricate the body threads and the back of the back ferrule, preswage, then assemble finger-tight, mark, and tighten 1/2 turn, checking with the swaging unit’s own gap gauge. Parker likewise specifies its hydraulic presetting tool above 1" and requires nut lubrication from -20 inch and 25 mm sizes up.
- Hand preswaging tools exist for 1/4", 3/8", 1/2", 5/8" and 6, 8, 10, 12, 16 mm, useful for making up ferrules on the bench before going into a cramped panel.
Make-up, in order
IfIs the tube the right OD, wall and hardness, and round?
If not, stop: no amount of tightening fixes the wrong tube.
IfCut square, deburred in and out, cleaned?
Use a stainless cutting wheel on stainless; do not over-deburr the OD.
IfTube bottomed on the body shoulder?
Push it home until it stops, then finger-tighten the nut.
IfWhich size?
1/4"–1" and 6–25 mm: 1-1/4 turns. 1/16"–3/16" and 2–4 mm: 3/4 turn. Over 1": preswage hydraulically, then 1/2 turn.
IfFirst make-up?
Check with the gap gauge. If it enters, tighten more.
IfRemake?
Back to the marks, then slightly further — no gauge, no fresh 1-1/4 turns.
Common questions
- How many turns do you tighten a compression fitting?
- 1-1/4 turns past finger-tight for 1/4" to 1" and 6 mm to 25 mm tube; 3/4 turn for 1/16", 1/8", 3/16" and 2–4 mm. Over 1", preswage hydraulically, then tighten 1/2 turn.
- How do I know a compression fitting is tight enough?
- On first make-up, use the maker’s gap inspection gauge: if it does not enter the gap between nut and body, the fitting is tight enough. If it enters, tighten further.
- How do I retighten a compression fitting that has been taken apart?
- Turn the nut back to its marked position, where resistance rises sharply, then tighten slightly — Parker says 10–20° and only after several remakes. Do not apply a fresh 1-1/4 turns.
- Do I need thread sealant on a compression fitting?
- Not on the tube end — the ferrules seal there. Sealant belongs on tapered pipe threads such as NPT and BSPT, where makers say to always use it.
- Can I tighten a fitting to stop a leak while the line is pressurised?
- No. Both major makers prohibit tightening or loosening under pressure. Depressurise first.
- Can I reuse ferrules?
- Ferrules already swaged onto a tube stay on that tube and are reused when the joint is remade. Ferrules cannot be removed and fitted to a different tube.
- What tool do I need for large tube fittings?
- Over 1" or 25 mm, a hydraulic swaging or presetting unit is required. From 5/8" to 1" it is recommended.
Fittings and parts for make-up
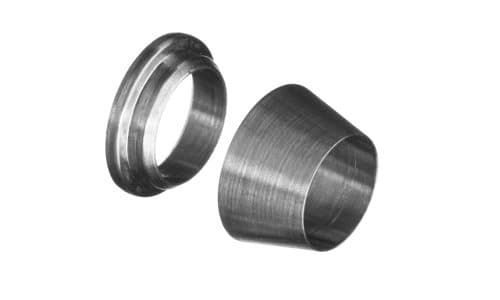 IH-TF-FS316 Stainless Double Ferrule Ferrule Set (Front and Back)Indus Hydraulics
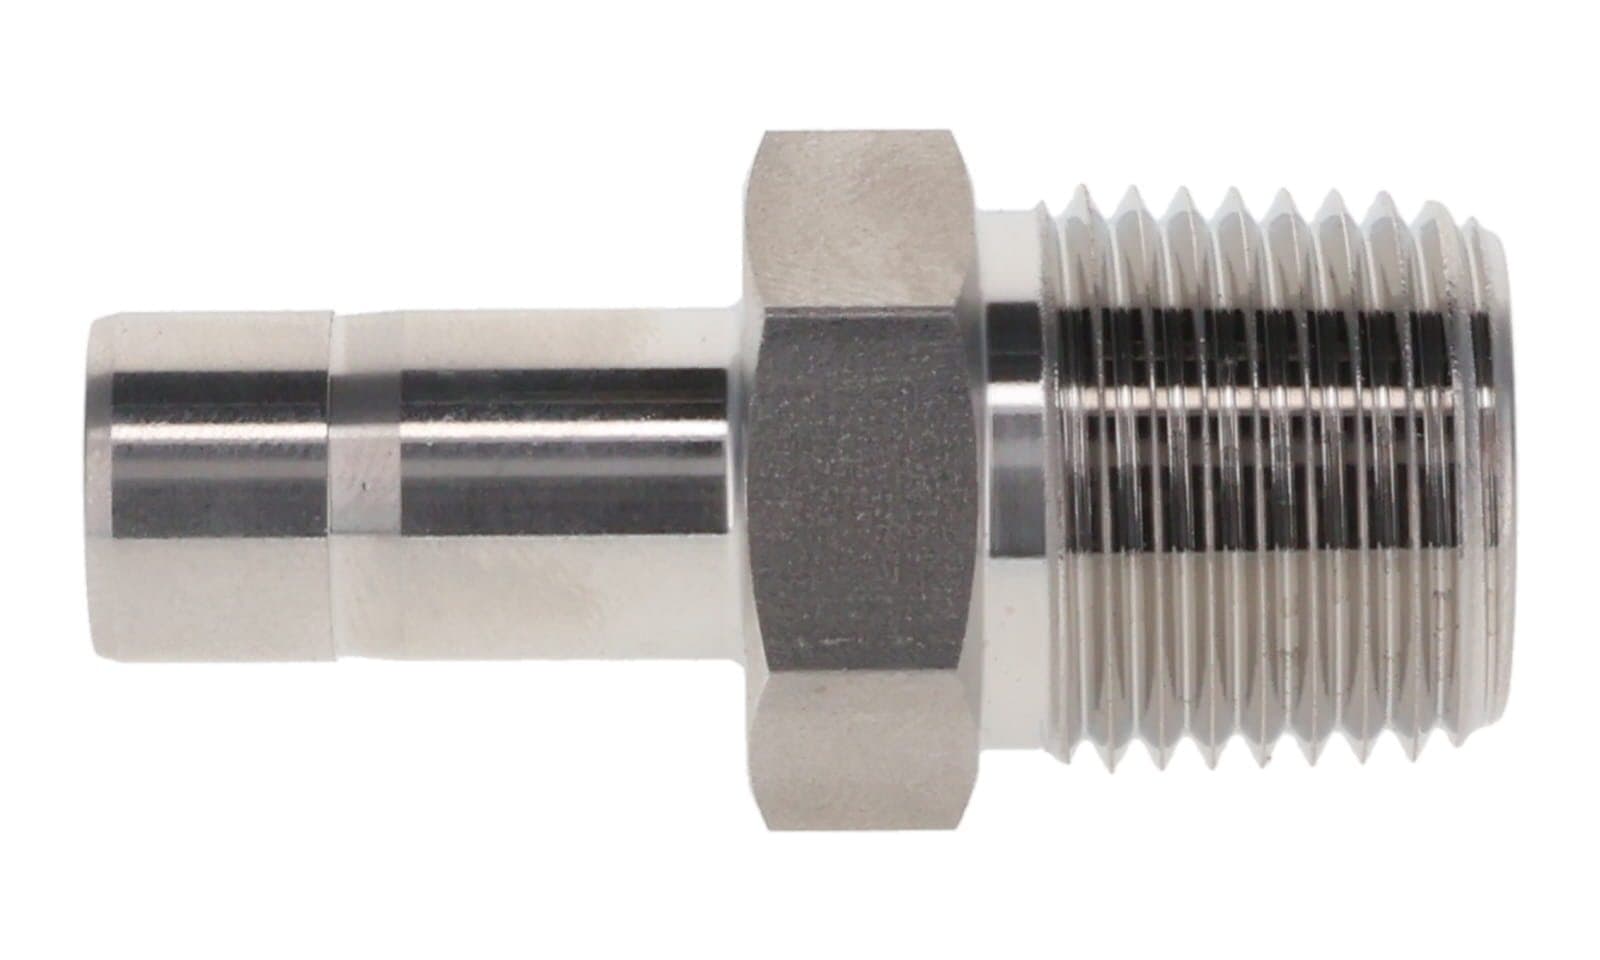 IH-TF-AM316 Stainless Double Ferrule Male Adapter, Tube Stub × NPT MaleIndus Hydraulics
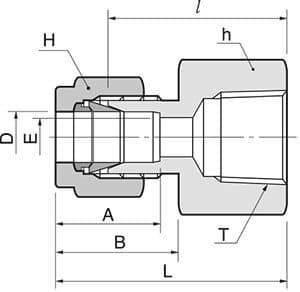 IH-TF-CF316 Stainless Double Ferrule Female Connector, Tube × NPT FemaleIndus Hydraulics
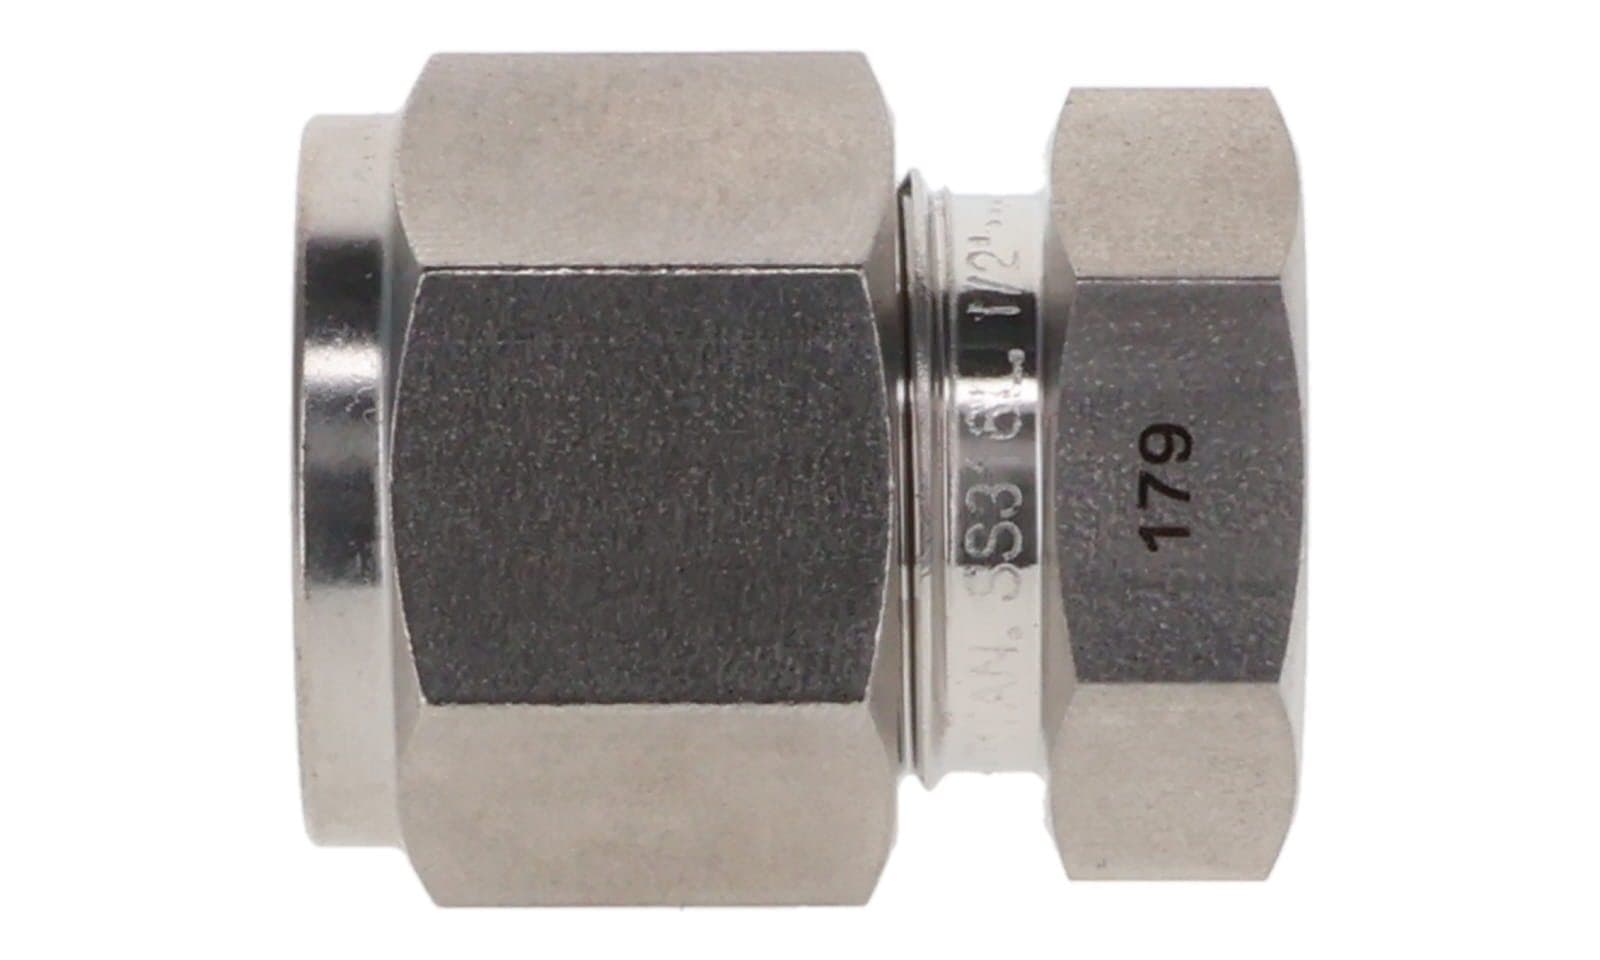 IH-TF-C316 Stainless Double Ferrule CapIndus Hydraulics
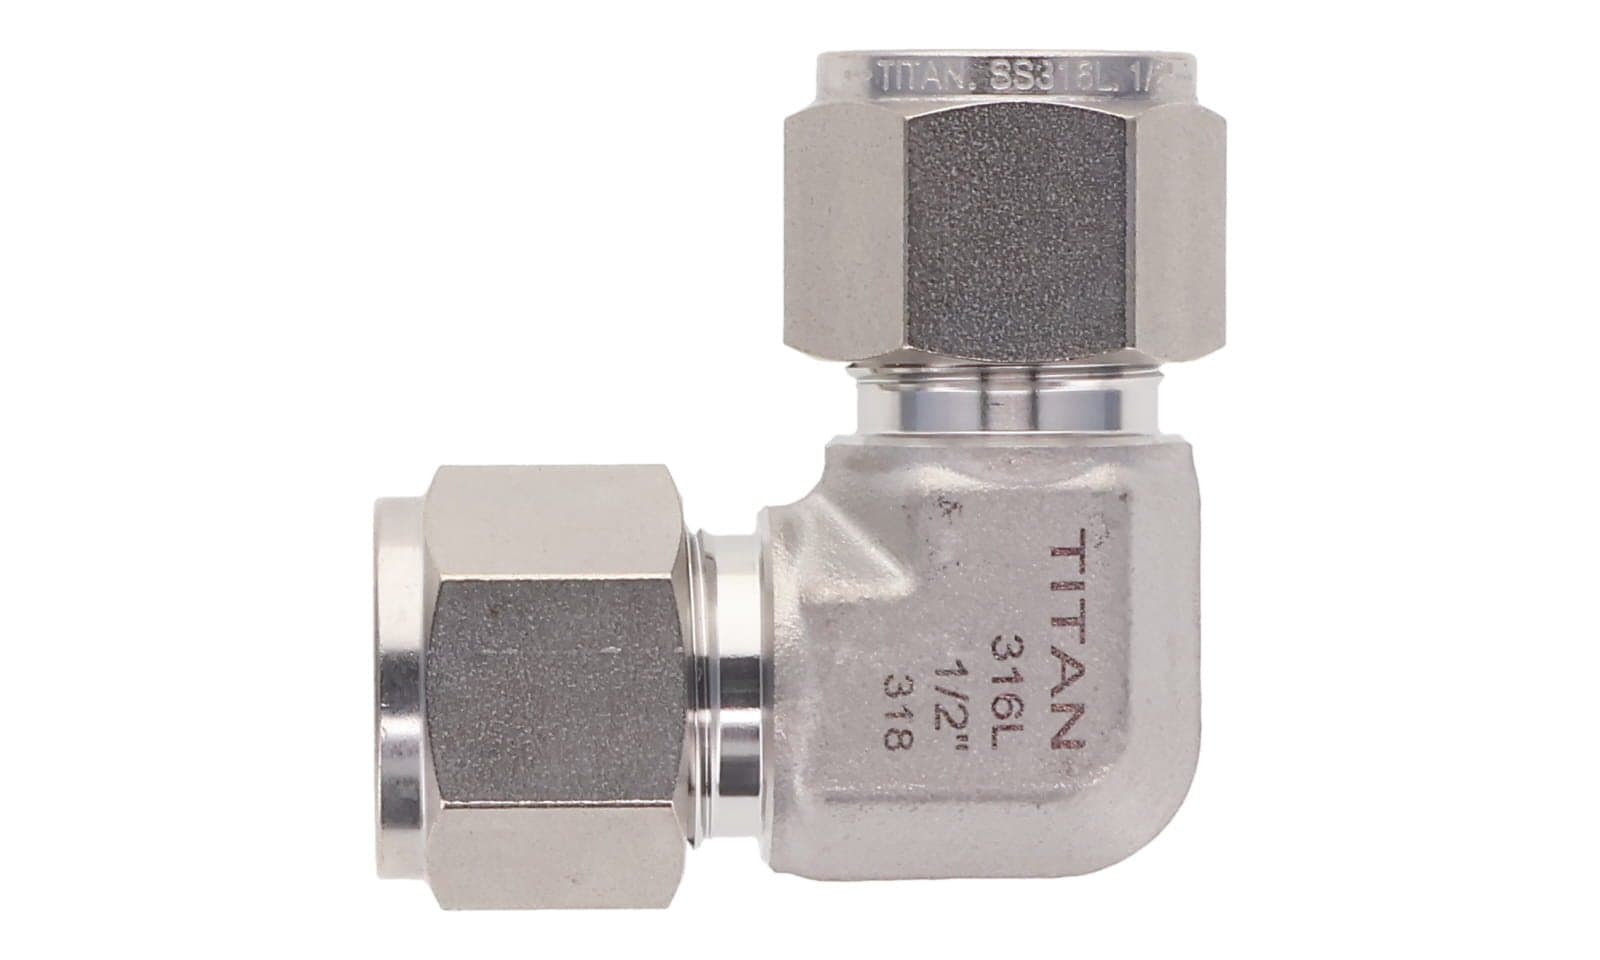 IH-TF-L316 Stainless Double Ferrule Union ElbowIndus Hydraulics
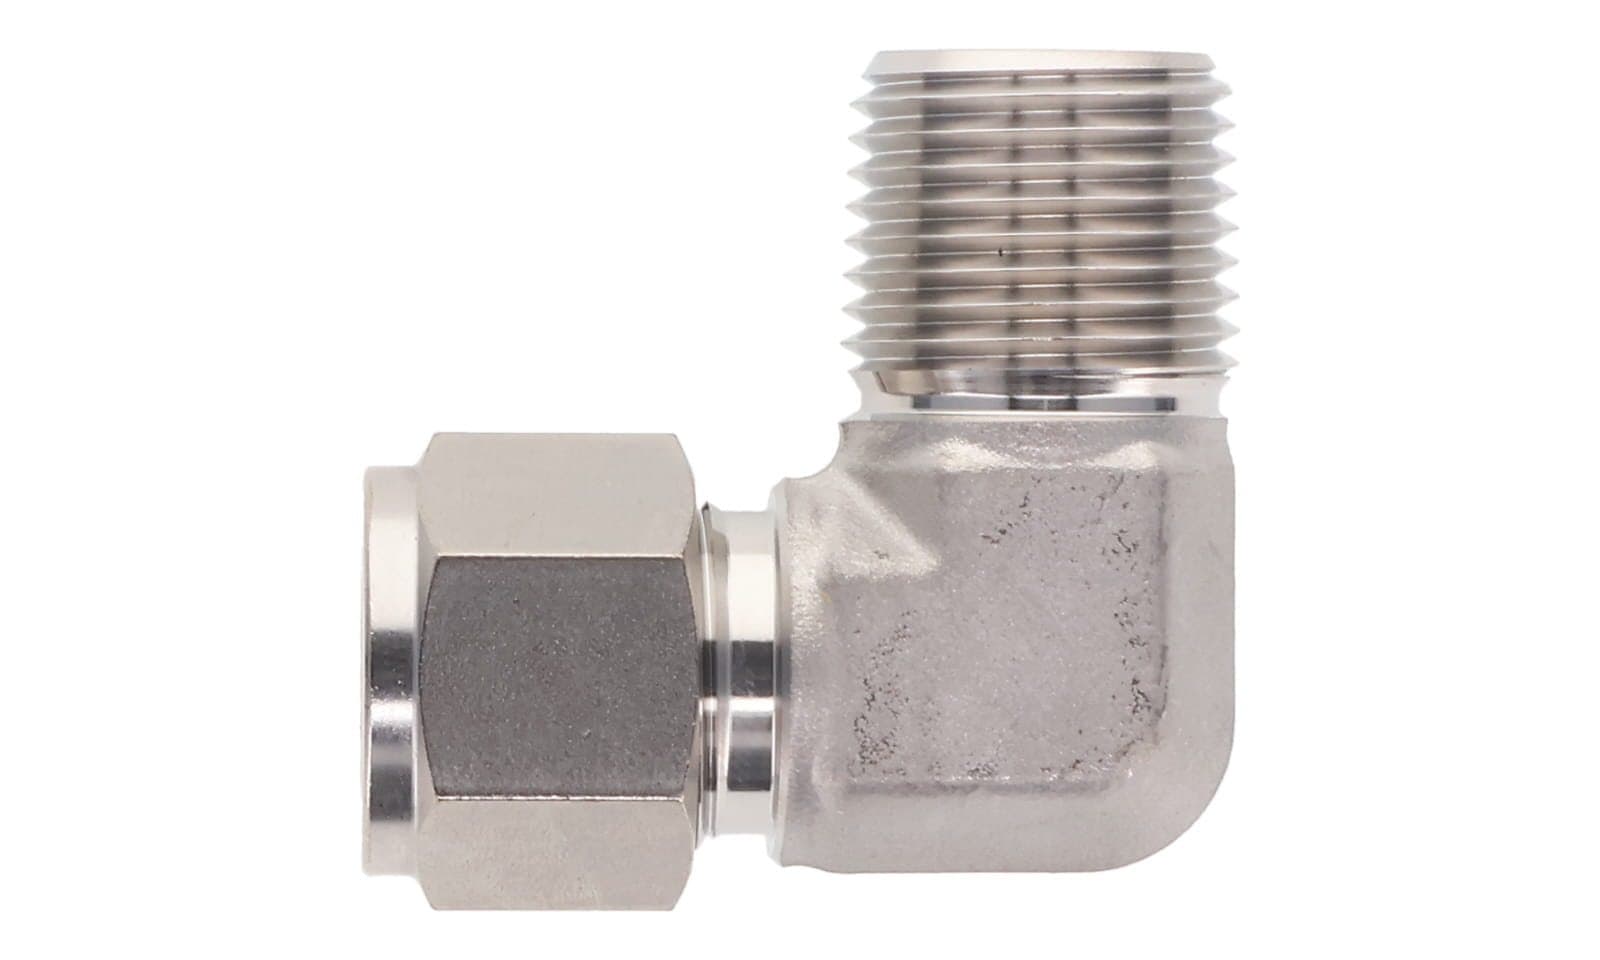 IH-TF-LM316 Stainless Double Ferrule Male Elbow, Tube × NPT MaleIndus Hydraulics
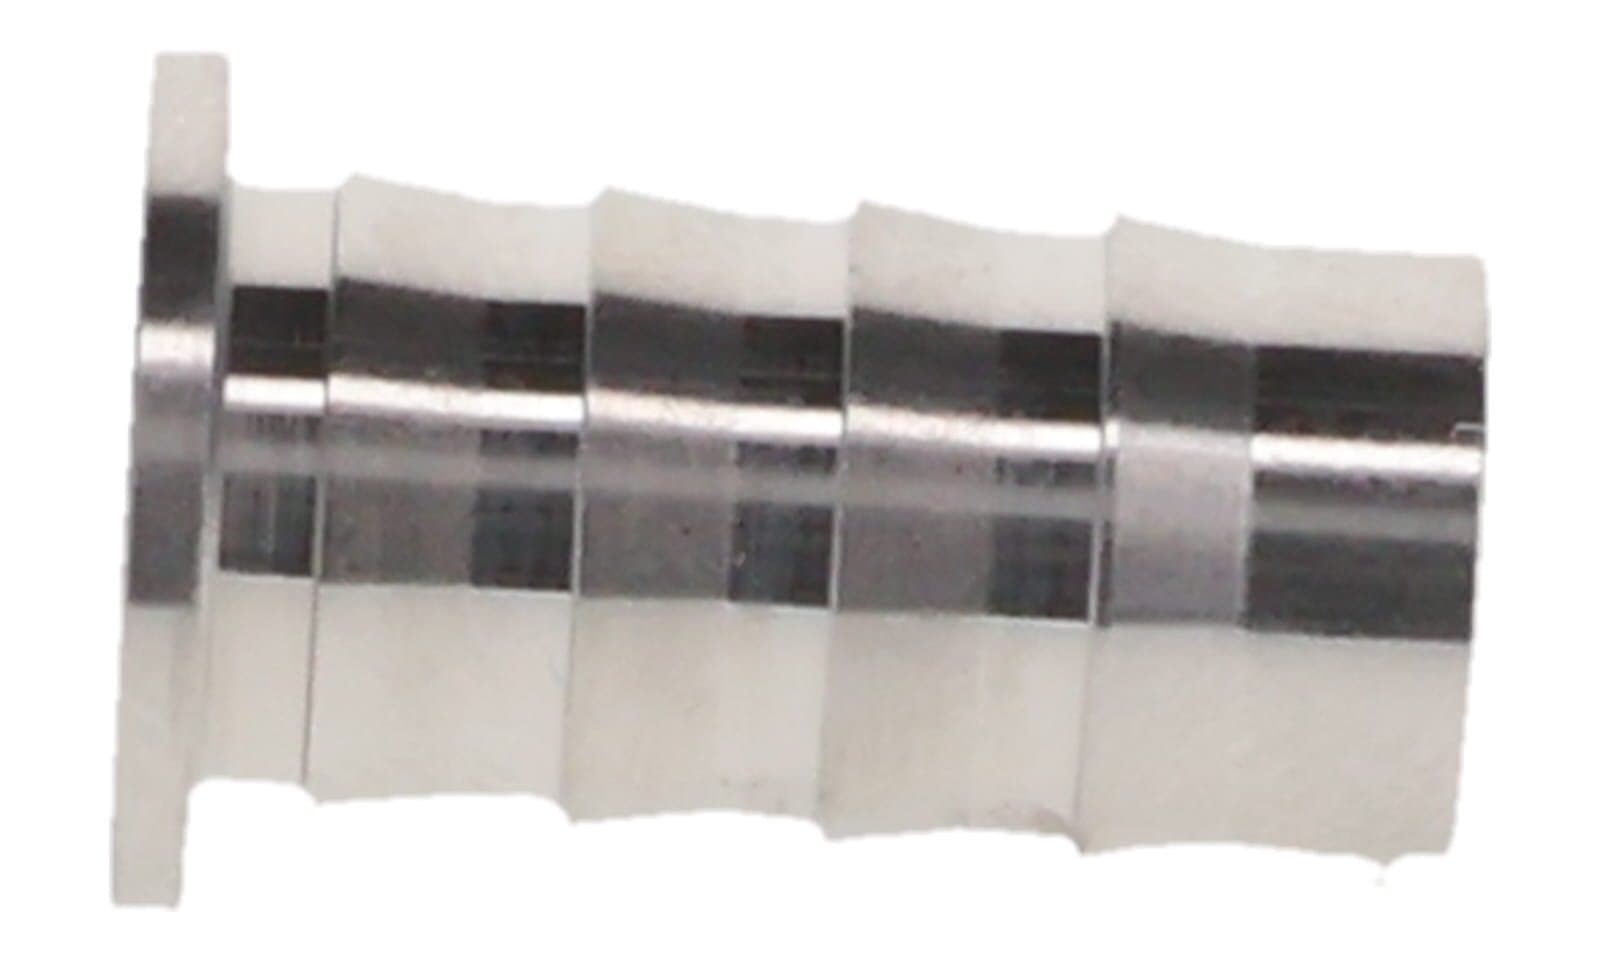 IH-TF-I316 Stainless Double Ferrule Tube InsertIndus Hydraulics
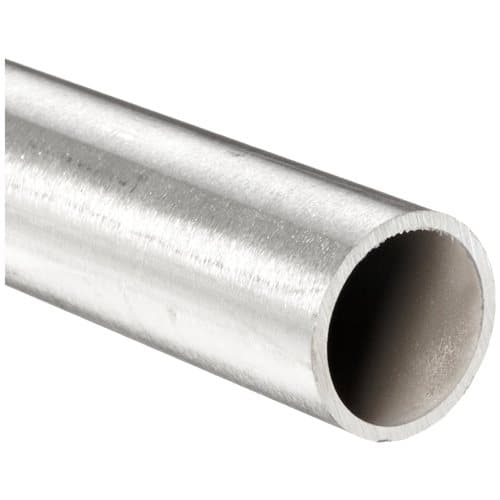 IH-TB-ST6316 Stainless Steel Seamless Tubing, InchIndus Hydraulics
An Installer’s Pocket Guide for Swagelok Tube Fittings
The maker’s own installation, gap-gauge, remake, end-type, preswaging and safety instructions used throughout this article; Parker’s catalogue 4230/4233 gives the same turns.