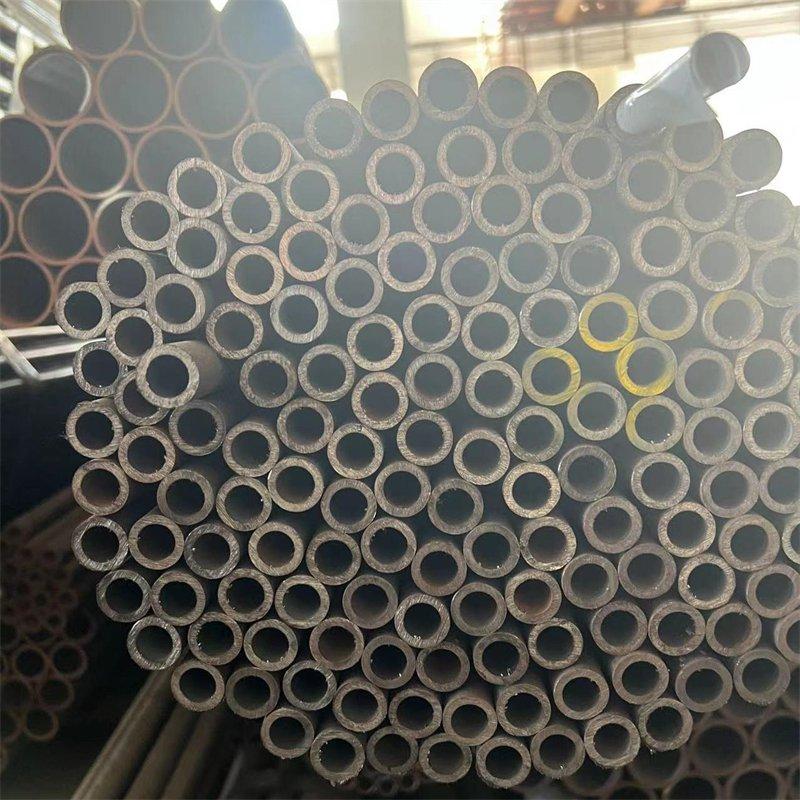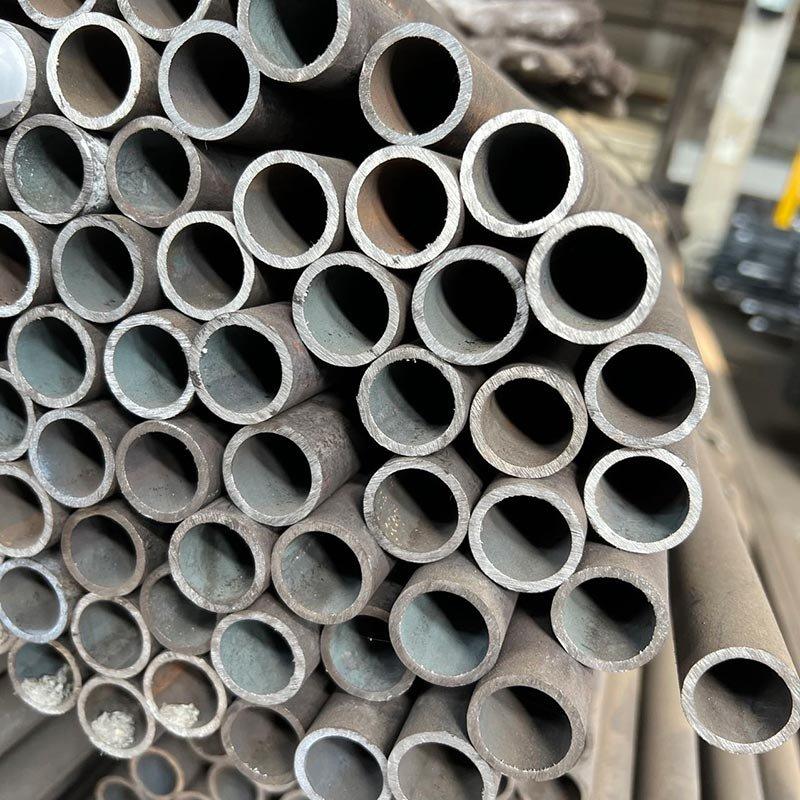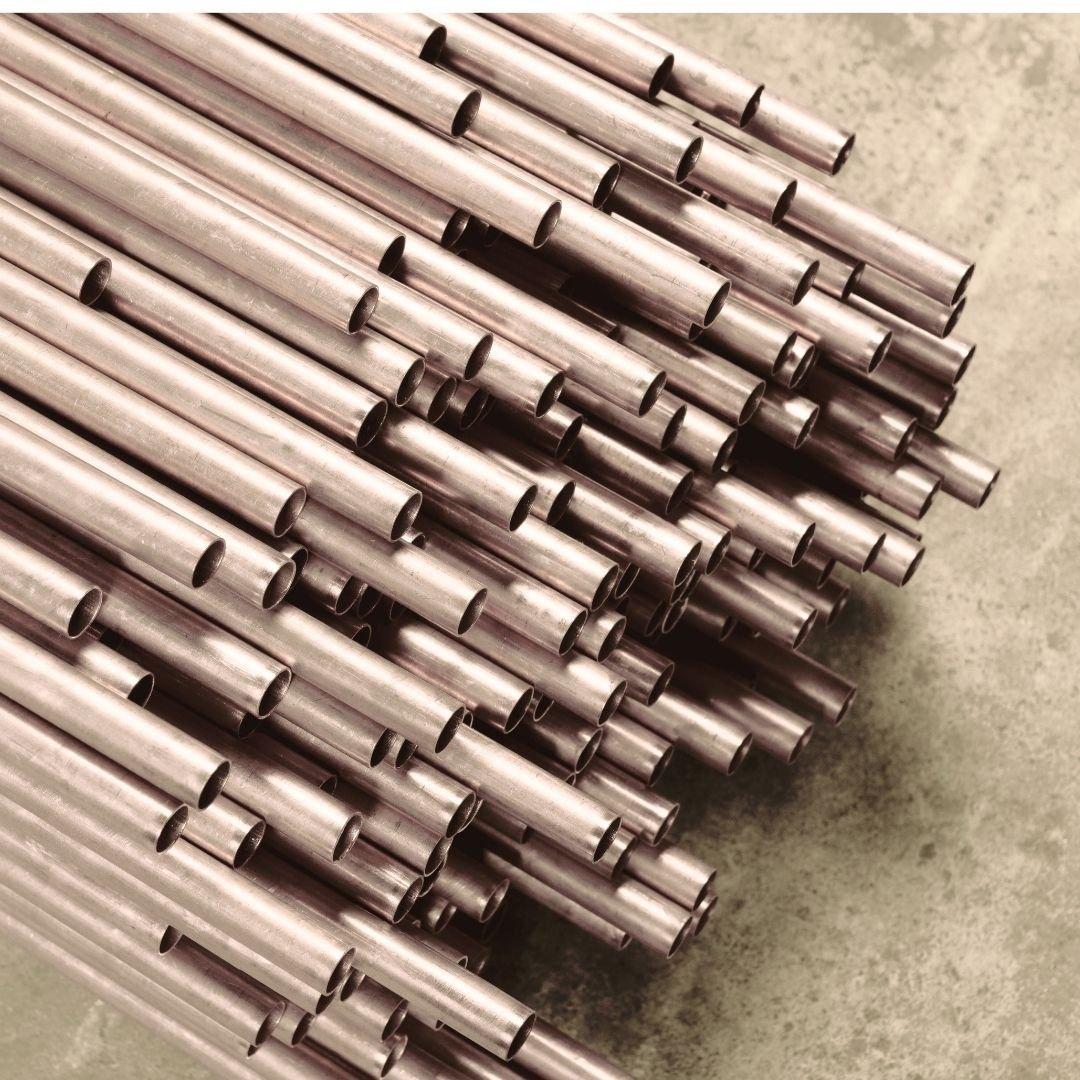
A tube’s grade cannot be seen. Its chemistry, strength and test history live on paper — the mill certificate — and the link between paper and tube is the heat number stencilled or stamped on each length. For pressure equipment, the type of certificate matters as much as what is written on it.
/01The four document types.
| Type | Document | Test results | Validated by |
|---|---|---|---|
| 2.1 | Declaration of compliance with the order | None | Manufacturer |
| 2.2 | Test report | Non-specific (typical production) | Manufacturer |
| 3.1 | Inspection certificate 3.1 | Specific, on the delivered product | Manufacturer’s independent inspection |
| 3.2 | Inspection certificate 3.2 | Specific, on the delivered product | Manufacturer and purchaser’s or third-party inspector |
For boiler, exchanger and pressure-piping tube, 3.1 is the normal minimum. Projects under third-party inspection, or some PED and class requirements, call for 3.2.
/02What a tube certificate shows.
- Mill, certificate number and date; purchase order reference.
- Standard and grade — for example ASTM A179, A213 TP316L or EN 10216-2 P265GH — and the delivery condition or heat treatment.
- OD, wall (minimum or average), length and quantity.
- Heat number (and lot), tying the certificate to the tube.
- Chemical analysis: heat and, where required, product analysis.
- Mechanical results: tensile, yield, elongation, hardness — as the standard requires.
- Technological tests: flattening, flaring, flange, expansion.
- Hydrostatic test pressure, or the NDT method (eddy current, ultrasonic).
- Any supplementary tests on the order: intergranular corrosion, impact, PMI.
- The inspection representative’s stamp and signature.
/03Checks on delivery.
- Read the heat numbers on the tubes and find each on a certificate.
- Compare standard, grade, size and wall with the order.
- Check the results against the standard’s limits — some grades, like A179 and A192, are controlled by hardness rather than tensile.
- Confirm the pressure or NDT test was done, and any supplementary tests you ordered.
- Keep the certificates with the equipment file.
Common questions
- What is the difference between 3.1 and 3.2?
- A 3.2 certificate is also validated by the purchaser’s or a third-party inspector; 3.1 is validated by the manufacturer’s independent inspection department.
- Is a 2.2 test report enough for pressure tube?
- Usually not: 2.2 gives typical, not specific, results. Pressure equipment normally needs 3.1 or 3.2.
- How is a certificate linked to the tube?
- Through the heat number marked on each tube, which appears on the certificate.
- Do you supply 3.1 certificates?
- Yes, on request with every order; third-party inspection and 3.2 can be arranged.
- Can a stockist issue a 3.1?
- A stockist passes on the mill’s certificate and keeps traceability; the 3.1 itself comes from the manufacturer.